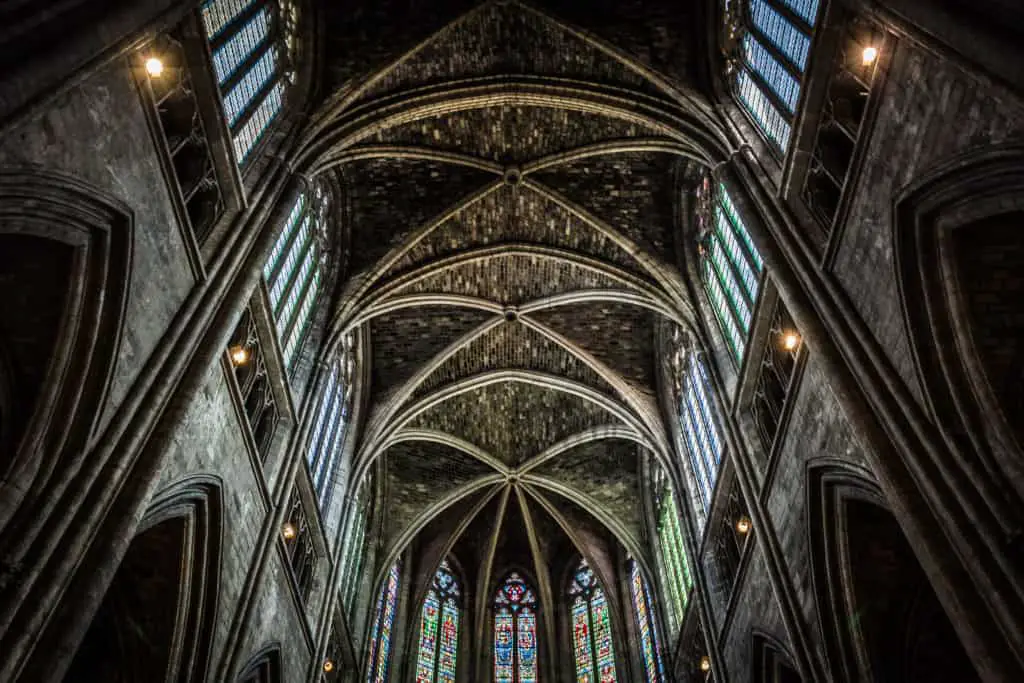
I am going to tell you how I created this photo in Lightroom (and Photoshop). All the numbers and why. And in next weeks’ post (I might) will do a new edit and see how they compare!
I created this photo in Lightroom using the following steps.
- Import into Lightroom – adding presets
- Images without preset imports – spot the difference!
- HDR Merge
- Start work on the new file
- Crop the new image
- Correct verticals and horizontals
- Carry out global adjustments in the Basic Panel
- Tweak things using the HSL panel
- Tweak the tones using the Tone Curve Panel
- Check the sharpening in the Detail Panel
- Check the vignette in the Effects panel
- Dodging and burning
- Other local adjustments
For the steps that I follow when I edit an architecture photography check out the blog post Step By Step Guide To How To Edit Architecture Photos.
A note on this image – all the processing was done in Lightroom – no Photoshop required. And I am working in Windows on a PC.
OK – lets get into this and yes I will be sharing the numbers on the sliders that I used.
1 Import into Lightroom – adding presets
I imported all the photos from the trip at once, and applied some processing on import to each and every image.
Why do I do this?
Well it turns out I was doing the same things to most of my images, so I had the thought – I can save time automate this, and this is what I do using the wonderful Lightroom.
This gives me a nice start in processing my images, taking the dull, flat RAW files, and giving them a bit of a pop.
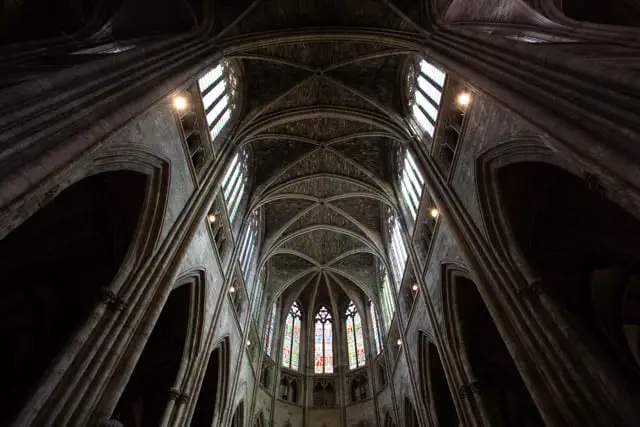
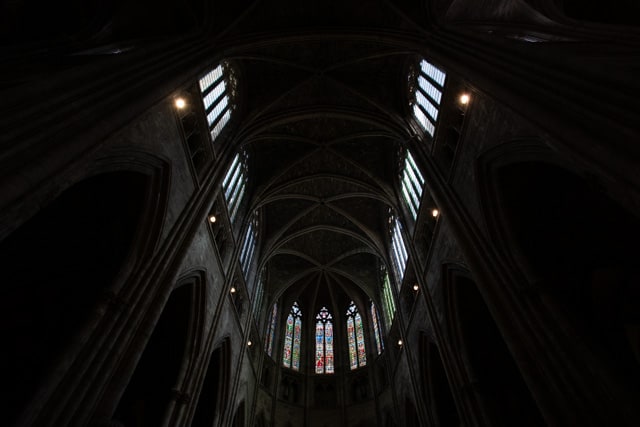
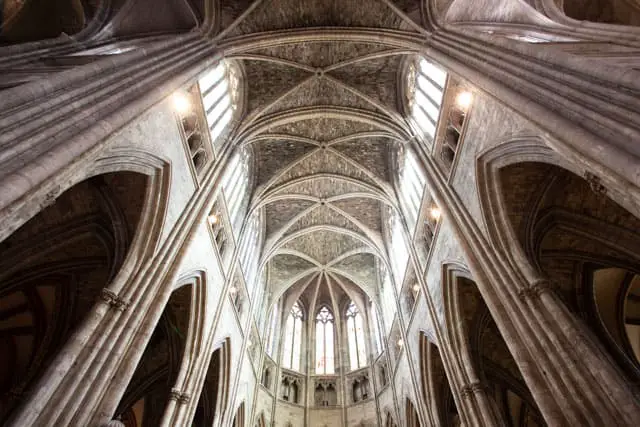
Here are the three images that I took with import processing applied. Yes I took three images which I merged together in Lightroom. I didn’t mention this in the post last week as I forgot about this!
More on this in another post, but I will show you in the images that I import.
2 Images without preset imports – spot the difference!
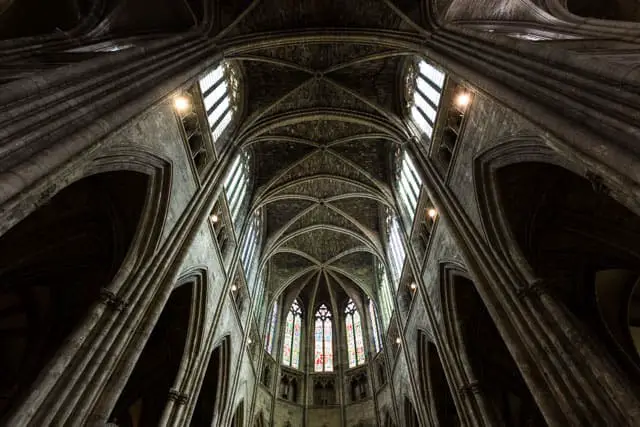
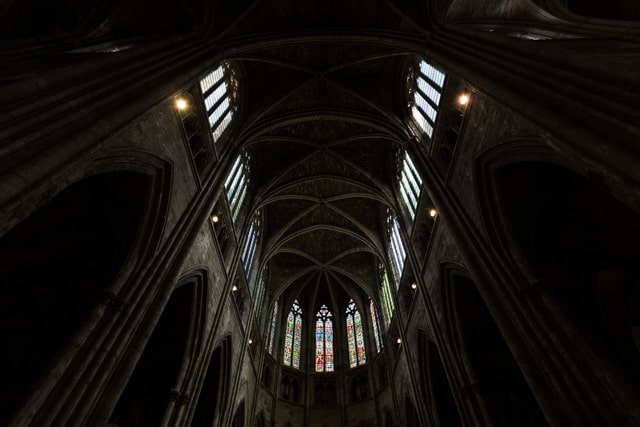
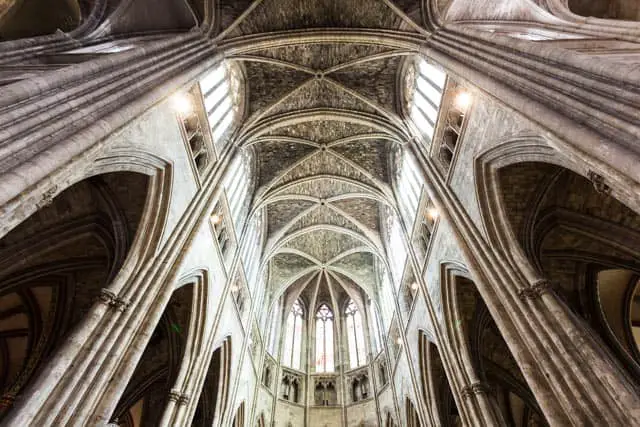
Here are the three RAW images with no processing applied.
3 HDR Merge
Once I have imported the photos the first job is to merge three images into one.
Very briefly, I take three images at the same time using auto bracketing on my Canon 6D. The first image is the correct exposure, the second two stops underexposed, the third two stops over exposed. This gives a wider range of data to work with, getting more at the light and dark ends of the scale.
How do I merge them?
Simple – select the three images, right click, and select Photo Merge > HDR. Or the keyboard shortcut Ctrl + H.
This is the dialogue box that pops up.
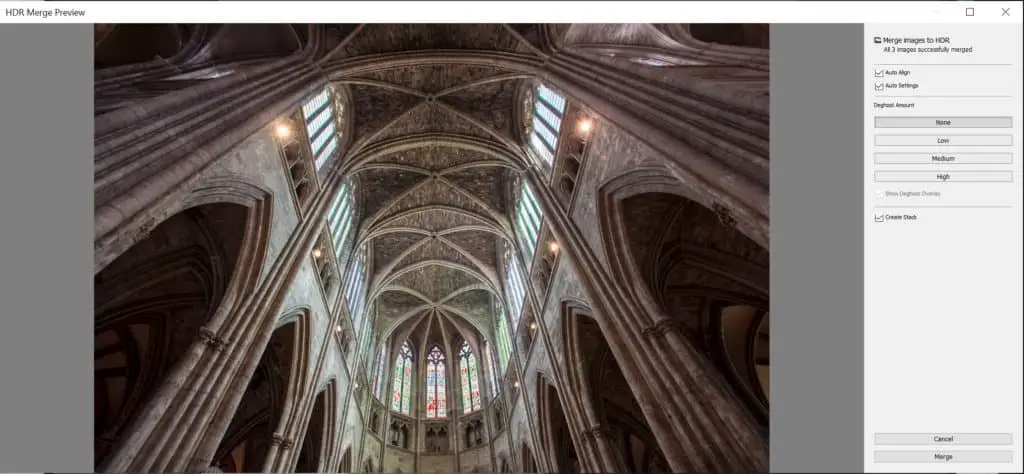
I use Auto Align – why wouldn’t I? And with Auto Settings check the box, see what it gives you and if you do not like it uncheck the box.
Deghost – click on High, make sure that Show Deghost Overlay is selected, and wait. If there is any ghosting (where there is some movement) this will fix it – it is shaded red.
With this image there wasn’t any, so I selected none again.
Make sure the Create Stack box is selected, and then hit Merge.
Lightroom creates a brand new .dng image which it puts in a stack with the original three images – all sorted and filed together which is good.
4 Start work on the new file
OK so we now have a brand new file to work with, which has a broader dynamic range than the original first image captured.
5 Crop the new image
This is the crop screen.

This is done I conjunction with the Transform panel, where I get the verticals vertical and the horizontals horizontal.
6 Correct verticals and horizontals
Rather remarkably the crop did this, I rotated the image as show above and all was good. I am not correcting verticals here as I wanted to keep what you are looking at so job done!
7 Carry out global adjustments in the Basic Panel
I then move to the far from basic panel. Here are the adjustments that I made to this image.
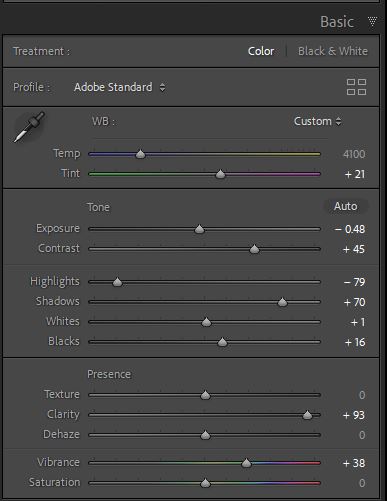
To get the White Balance I first try auto, and see what it gives me. As I shoot in RAW I can adjust it to my heart’s content in Lightroom.
Auto did not work so I reset it, selected the dropper tool, and found part of the image which was neutral. What I am looking for is part of the picture where R(ed) G(reen) and B(lue) are the same number – this works a treat.
For my commercial work I use a grey card which I include in the shot which does the same thing.
After that try Auto and see what Lightroom comes up with. Other than that is a case of playing around with the sliders and seeing what you get.
The sliders from Exposure to Blacks cover the tones – I use all of them.
- Texture – not used for this photo.
- Clarity – I used a lot of this to bring out all the textures
- Dehaze – not used here.
- Vibrance – I love this slider which brings out the subtle colours nicely.
- Saturation – I never use this as it is much too blunt an instrument for me.
And that is the Basic panel done.
Don’t forget you can play around and if you mess things up just hit reset and you are back to the beginning – this is all non-destructive fun stuff.
8 Tweak things using the HSL panel
Now this is a panel that I have come to love and use all the time, but this was after I created this photo. I will use it on the re-edit and see what it does.
9 Tweak the tones using the Tone Curve Panel
I did not use these on this edit but will on the re-edit (If I need to that is).
10 Check the sharpening in the Detail Panel
This is the preset that is applied, that looked fine to me.
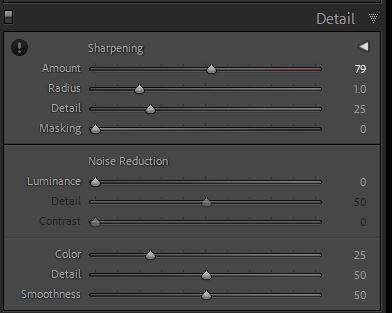
You can check this by zooming into 100% – what you are looking for is the sharpest edges – slide the Amount slider to the left and the right and you will see things changing – this is a visual check.
11 Check the vignette in the Effects panel
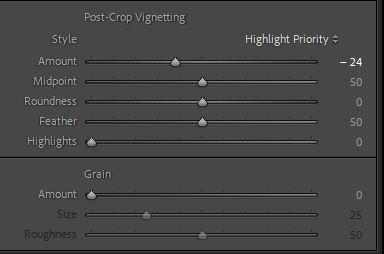
This is where I apply a vignette – it is subtle so you can’t really see it but it darkens the edges making the middle bit lighter.
12 Dodging and burning
Now for the magic.
Dodging and burning is lightening and darkening bits of a photo to give emphasis to specific parts of a photo. This is a subject all of its own for another post.
You apply Dodging and Burning using the Brush tool. The circles in the photo show the bits that have been dodged or burned. The Dodge tool is selected, which is only lightening by 0.25, which is a subtle addition. The Burn is set by default at -0.25.
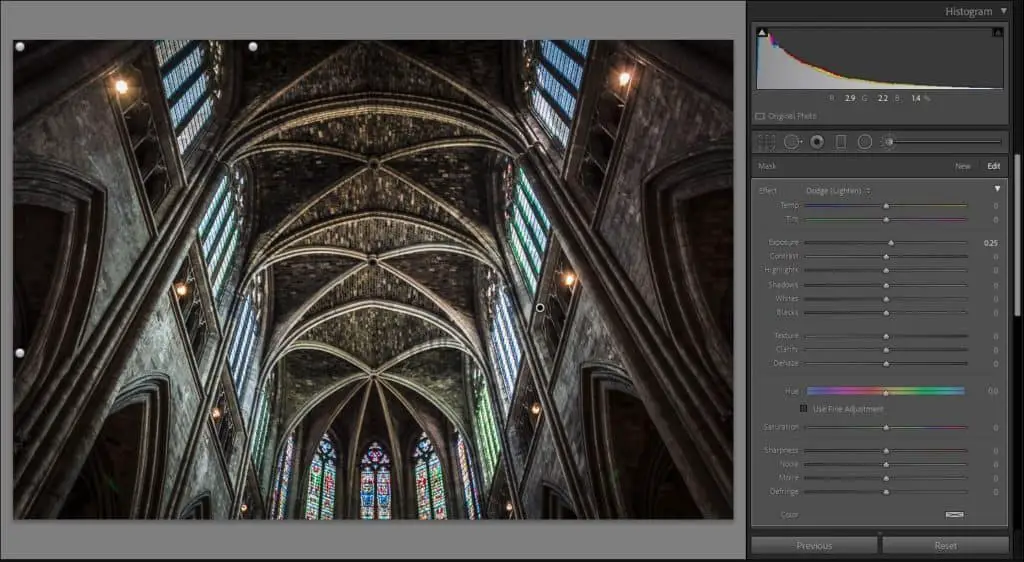
Subtle adjustments and that is the point – we are enhancing what is there not transforming a photo into something completely different.
Well I’m not anyway.
13 Other local adjustments
There weren’t any.
OK – I am done – but there is a video!
Yes I talk about this on my very own You Tube channel, so if you want to know more then check this out as well.
Summary
This is how I edited this photo. These are all the things that I did. I hope that you found this interesting.
Next week I will do a new edit from start to finish.
Related reading
Check out a couple of pages of my website which link to lots of related stuff.
Related viewing
Yes, related viewing – check out the video for this blog post on my You Tube channel.
My Podcast
Also please check out the Photography Explained Podcast, my small but perfectly formed audio offering available on all good podcast providers.
Any questions get in touch via my website. It would be great to hear from you.
Cheers from me Rick