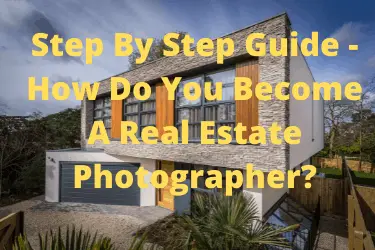
I am a real estate photographer. This is what I do. This is my specialism. Do you want to know how to become a real estate photographer? You do? Well that’s great.
These are the steps that you should take to become a real estate photographer
- Why would you want to become a real estate photographer?
- Learn to take consistently excellent real estate photos
- Get your image processing workflow right
- Get the right gear and learn how to use it
- Create a real estate portfolio
- How to prepare for a shoot
- How to do a real estate shoot
- How to edit real estate photos
- Getting the business side of things sorted
Who am I?
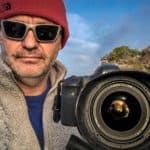
I am Rick McEvoy. I am a real estate photographer living and working in the UK. I am professionally qualified in both building construction and photography.
- MCIOB– Member of the Chartered Institute of Building
- ABIPP– Associate in the British Institute of Professional Photography
I am perfectly qualified to teach you how to become a real estate photographer.
Oh yes – I also have a lifetime of practical working experience in both buildings, construction, and photography.
About this post
I started off wanting to do a complete guide in one post, but this defeated me. So this is now going to be a series of posts, starting with this introductory post.
Let’s start at the beginning shall we?
What is a real estate photographer?
A real estate photographer takes photos which real estate agents use to sell or lease residential and commercial properties.
Real estate photographers normally work on a fixed fee for a single commission, being paid by the client once the images have been issued.
1 – Why would you want to become a real estate photographer?
Well there will always be buildings, I think we can be pretty confident of that. And if there will always be buildings there will always be a requirement for photos of buildings to help real estate agents market, sell and lease buildings.
So in an uncertain world we can be pretty confident that there will always be a demand for real estate photographers. Photographing buildings is one of the few areas of photography that you can virtually guarantee is not going to go away.
And that is for me a pretty good reason to become a real estate photographer.
More on this in the next post.
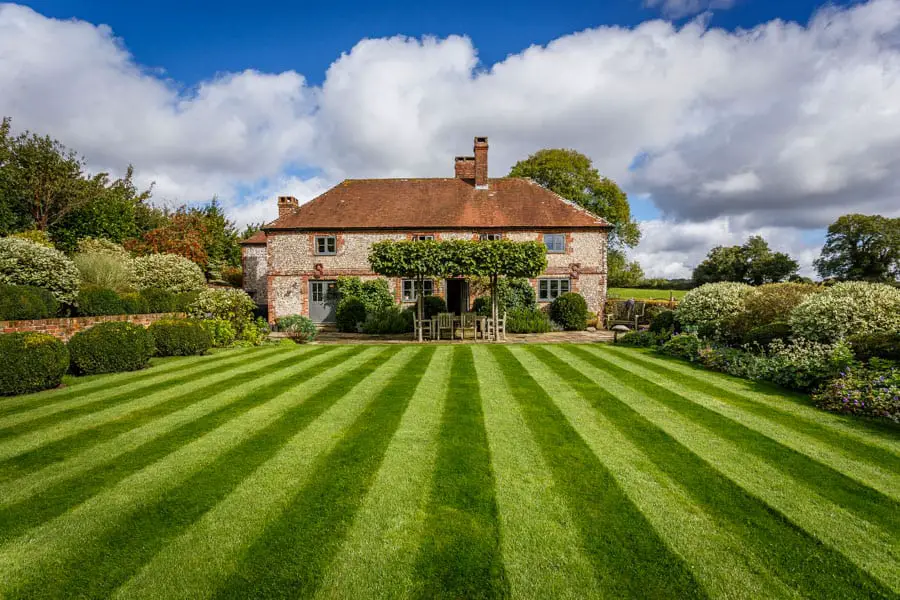
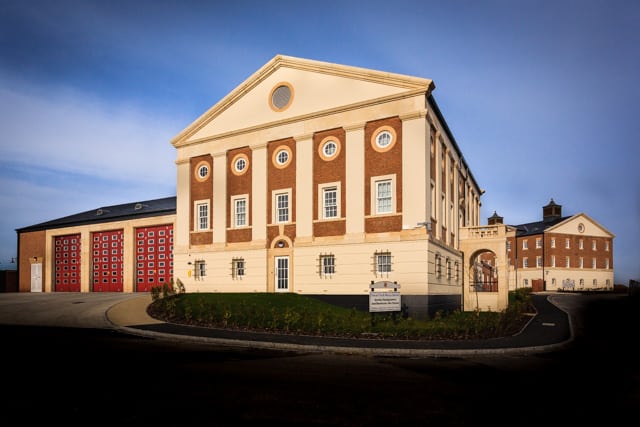
2 – Learn to take consistently excellent real estate photos
Practise. Practise. Practise. The number 1 way for you and I to improve our photography is to practise. And I mean taking photos, which in this case is buildings.
And the good news is that if you live in a building you have your first location to practise on. And if you know someone else who lives in a building that is your second location.
Photograph your home inside and out. Explore anything and everything. And once you have exhausted where you live get out and photograph other stuff.
What other buildings can I photograph?
Public buildings are normally fine to photograph, after all this is what people do all the time. So they are a great next place to try.
When you have to be careful is if you come to publish and sell photos, but we are only talking about practise here aren’t we! Public buildings, and publicly accessible spaces are generally fine for this.
And do you know what – this will be the start
What are real estate agents looking for?
Well check out their websites and you will be able to see for yourself. More help for us which is nice. Ok – like this one for Tailor Made in Sandbanks.
You have things to photograph, and you now know what real estate agents are looking for.
Let’s take a look at the number 1 thing for photographers – composition.
Rules of composition
Learn the rules of composition
Much more on this in a future post – much more. But if you can’t wait and want to learn all about the rules of composition check out the Photography Explained Podcast episode titled What Are The Rules Of Composition?
One more compositional quick tip – leave stuff out
Less is more. Be clear what you are including in a photo, and this will help to exclude what is not relevant, what is distracting, confusing.
Take time with your compositions
I take time with mine. I take a lot of care and attention, as this is the thing that my clients will be looking at. All they care about, and quite rightly so, is the content of the photos.
Tripods
I use a tripod whenever I can. It helps me to get my compositions bang on.
Technical correctness
There is a requirement for verticals to be vertical, horizontals to be horizontal, and that colours are correct.
Technical correctness is a must.
3 – Get your image capture and processing workflows right
Workflows are important for consistency and quality. I have well refined workflows for
- Image capture
- Image processing
- Data management
I will go into all of these in much more detail in a future post.
Workflow
When I say workflow I mean workflow, and not editing images. Sure that is part of it but there is a whole workflow that needs to be sorted – editing is part of the workflow and a separate subject on it’s own.
Workflow is the entire process from getting photos off a memory card to online back up, and everything in between.
Workflow here is my data management – my images are precious to me and as well as having a highly efficient workflow I have redundancy and backup built in.
This is what I will talk about
But here I want to quickly mention how many photos pershoot.
I typically issue 20-30 photos to a client. Now if I can take 20-30 photos, edit them and issue them I am happy, as I will have not wasted a shot. This rarely happens. On real estate shoots you will take more photos than you need, it is just the way it is, so don’t worry.
Remember me saying that I am really careful with my compositions? Well this helps me to take less photos, which means less time choosing photos to edit.
Like I say, one for a post all of its own, which is what I will do. So much to say on this one.
4 – Get the right gear and learn how to use it
I recommend a full frame DSLR and a decent wide angle lens. Gear is critical. As is practise with that gear.
Practise with what you have, learn your gear until you can use it with your eyes closed, because at some point you will find yourself doing virtually that.
Do not get hung up on gear but get the best that you can afford and justify.
This is some of the gear that I use. I have everything for a shoot in a small backpack, leaving the rest of my gear in the boot of my car in case I need it.
My camera of choice – the Canon 6D
The Canon 6D is a full frame camera with a great sensor and fantastic image quality. I love the images that I have taken with my Canon 6D over many years. I do not need many of the fancy features of newer cameras – on a commercial shoot these would just be a distraction to me.

The Canon 6D is a durable, weather-sealed DSLR that does the job.
Focus screen
I bought a focus screen that gives me the rule of thirds in my viewfinder – very handy! Remember me talking about that in composition?
I have the rule of thirds in my viewfinder which I could not now live without!
Lenses
The lens that I use most is the Canon 17-40mm F4 L. This is a fantastic, relatively cheap, small, and lightweight lens made with L series pro quality.
And 17mm is my go to focal length. I fix the focal length at 17mm with gaffers tape would you believe!
Tripod
I have a number of tripods but prefer the Manfrotto 190 Go tripod for real estate photography. It is quick to set up, easy to carry in one hand and perfectly stable and sturdy for my needs. And more importantly not too big so I can get into corners in rooms.
I have a much bigger and heavier tripod but it just does not work for real estate photography.
Geared tripod head
I have a Manfrotto X Pro 3 way geared head. It is the only head that I use for real estate photography.
My aim is to nail the composition, get things level and vertical and exclude things I do not want when I take a photo – it is quicker to do this in camera than later in Photoshop. If I do not need Photoshop than I am happy.
Again, I will write a post all about the gear that I use for my real estate photography work.
5 – Create a real estate portfolio
You need to create a portfolio so you can show clients what you can do. This will be your best work, and probably not as many photos as you might think.
I have three portfolios, an architectural photography portfolio, a travel photography portfolio, and a landscape photography portfolio.
And do you know what, I am going to create a brand new real estate photography portfolio, and I will explain how I did it in a future blog post, which I think is the most helpful way that I can write about this.
Once I have done my portfolio you can do yours ok?
6 – How to prepare for a shoot
You need to be prepared for a shoot. I have written blog posts before about preparing for an architectural shoot, which I will update and publish afresh.
Preparing for a shoot includes, amongst other things, the following very important things
- The brief
- The shot list
- Your gear
- You
- Timings
- Direction of the sun
- Weather
- Access
- Preparing the building
7 – How to do a real estate shoot
I work through the shot list that I have agreed with the client. I have a well-practised way of making sure that I get all the shots that I need.
There are plenty of things to consider when you are carrying out a shoot, including
- Composition
- Which photo first?
- Which are the must have photos?
- Where the sun is shining.
- People
- Lights on or off?
- Inside or outside first?
- How many photos?
- Taking photos of the same thing
- Consistent exposure
- Consistent camera settings
- Consistent point of focus
- Getting the right look
I will add to these in another new post and write about each one in detail.
8 – How to edit real estate photos
Editing the photos
I recently wrote a post Want To Know How I Created This (New) Photo Of Bordeaux Cathedral In Lightroom? where I go into some detail in processing images, which is worth checking out.
This is a subject in its own, and will be the subject of future posts, so I just want to give you the headlines here.
What software do I use to edit real estate photos?
I use Lightroom. I use Photoshop when I have to remove stuff, and I use Luminar to change the if I need to.
But most of the work is done in Lightroom. I use Luminar to change the sky if the weather was rubbish.
Why Lightroom?
Because I have learned to use over a number of years, and now have a very efficient workflow which enables me to quickly produce high quality images which have my own look.
But if I can edit a whole shoot using just Lightroom I am happy.
And I have my own process for editing photos – this is it in summary.
- Import the photos and apply presets
- Backup the photos on import
- File the photos
- Choose the photos to edit
- HDR Merge
- Crop/ transform – one by one
- Basic panel – one by one
- Selective edits – one by one
And that is it. I will explain this in full on the post about editing real estate photos, but until I do have a think about this. Once I have a set of images to work with I do the crop/ transform to all the images, and then make basic panel adjustments to all the images, and so on.
I do not edit one photo and then move on to the next one.
More in the post where I go though this start to finish.
9 – Getting the business side of things sorted
People, people, people – that is what this is all about.
There are various aspects to the business side of real estate photography, which are these
People
I would put this as a big first item – people. You will be dealing with people, and if you want to work with people again there are things that you need to do.
You need to be able to help them, solve a problem they have, and for them to like working with you. Get any of these wrong and you can forget it. It is a harsh world out there, and how you treat people and how you deal with problems will define the success of your business.
The photos
Yes you have to produce high quality, technically correct photos that satisfy the brief. As a photographer that is a given.
Efficiency
You have to be efficient in everything, agreeing jobs, contracts, briefs, image capture, image processing, dealing with problems.
The money side of things
You have to be able to make money, and provide your clients with value for money. This is a delicate balancing act, a constant juggle.
Reputation
Real estate photographers, by the very nature of the work, tend to work locally more than other photographers. And you will soon learn, as I have, how small business circles are, and how businesses know and talk to each other.
So create your best reputation and look after it.
Branding
Do you photograph weddings? Pets? Portraits? Nothing against any of these photographers but my brand is me, and I photograph buildings.
And that is all I do. That is my brand.
Be the go to person
Following on from the last point, If you are the go to person in your area then great – that should be your aim.
This is my aim and what I work hard to be.
I am going to explain on this like all the other points in a future post.
Related reading
If you want to know more about real estate photography check out my real estate photography page.
If you want to know more about me, and for everything else just head over to my Start Here page.
And there is also my You Tube channel where you can watch the video of the blog post.
Photography Explained Podcast
Sorry I can’t leave without giving a very quick mention to my Photography Expained Podcast, where I explain one photographic thing per episode in plain English in less than 10 minutes without the irrelevant details.
Summary
There will always be buildings. And there will always be a need for photos of buildings. So this is not a bad area to work in, which is as future proof as any can be in this uncertain world we find ourselves in.
And like I said, each of these areas is a post all of its own, which I will work through one by one. And you can check out my real estate photography page here, which is my go to guide to becoming a real estate photographer.
I have not written the other posts at the time of publishing this post (June 2021), so I have some work to do!!
Please, any questions get in touch via my website. Cheers from me Rick