Yesterday I said no more pictures of the New Forest.
Sorry.
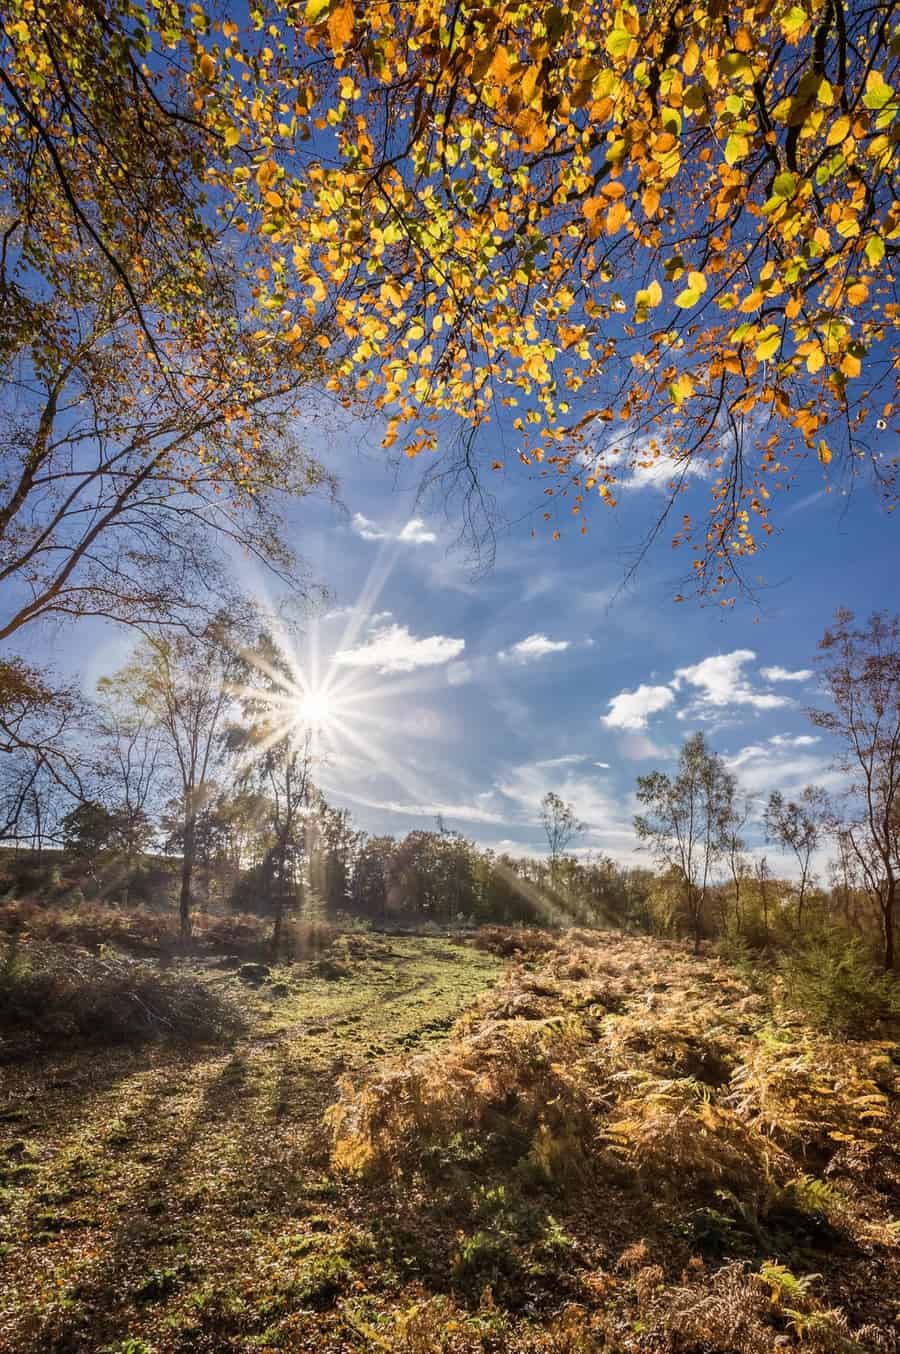
Here is another, erm, picture of the New Forest.
And what a picture I hear you say?
Well I hope you do. Ok I hope that you look at this picture and at least stop for a second and think – lovely scene. Even better if you think – I wish I was there when that picture was taken.
That is the emotion I am trying to get to.
To look at one of my pictures and want to be there.
This was from the same place the last couple of images I posted were taken. Such a lovely part of the New Forest.
This is my favourite picture from that location.
This is what I did in Lightroom.
HDR Merge.
There is a point of digression to make here – it is about De-ghosting when you carry out an HDR Merge. I will write a separate post about this. Note to self made. For this post I will say that I no longer leave Deghosting on. I only select it when I need it.
Back to the processing of this image in Lightroom.
Firstly I did an HDR Merge of the under exposed and over exposed images.
White Balance
Daylight was too cold. Cloudy was just too warm. So I went between the two. Actually As Shot was just in-between the so that is that done.
Don’t forget this is why you need a calibrated monitor. And this point served as a reminder to myself and I have just recalibrate my monitor.
Basic Panel
- Exposure
- Auto Tone in the HDR Merge gave an exposure increase of +2.35. Which was fine.
- Contrast – I boosted to +33
- Highlights – the auto set them to -100
- Shadows – the auto tone set them to +70
- I played with both sliders but put them back where Lightroom put them as they were just fine.
- White +12
- Blacks -14
I achieved both of these by doing the shift and double click trick letting Lightroom calculate the white and black points.
- Clarity I boosted a bit to +26
- Vibrance I boosted a bit as well to +19
Saturation – I do not use apart from a quick slide to the left to see what the black and white image looks like.
Next up was the HSL Panel.
Firstly, I used the target adjustment tool in the Luminance Panel to reduce the brightness of the blue sky.
I also boosted the luminance of the oranges and yellows a bit to make them brighter.
I did the same to the saturation of the oranges and yellows.
A subtle, barely visible vignette of -14 was next.
And then I thought about cropping. I cropped in a little, taking out a small part of the bottom and right hand side of the image.
Then it was dodge and burn time.
I didn’t like the shadows underneath the front foliage, so I lightened them a touch with a brush with the shadows adjustment.
I also dodged the plants on the right.
I painted clarity onto the tops of the foliage on the right.
Finally I burned the light bits right down the bottom of the image.
And that was that image all done.
Well apart from a bit of minor spot removal. So minor I did it in Lightroom
And that is definitely it. No more edits. After the black and white version of this picture I am moving on to some more new images.
I will say this now. I am more than happy with this image. I really really like this image!
Rick McEvoy Photography Blog
Tuesday 22nd November 2016