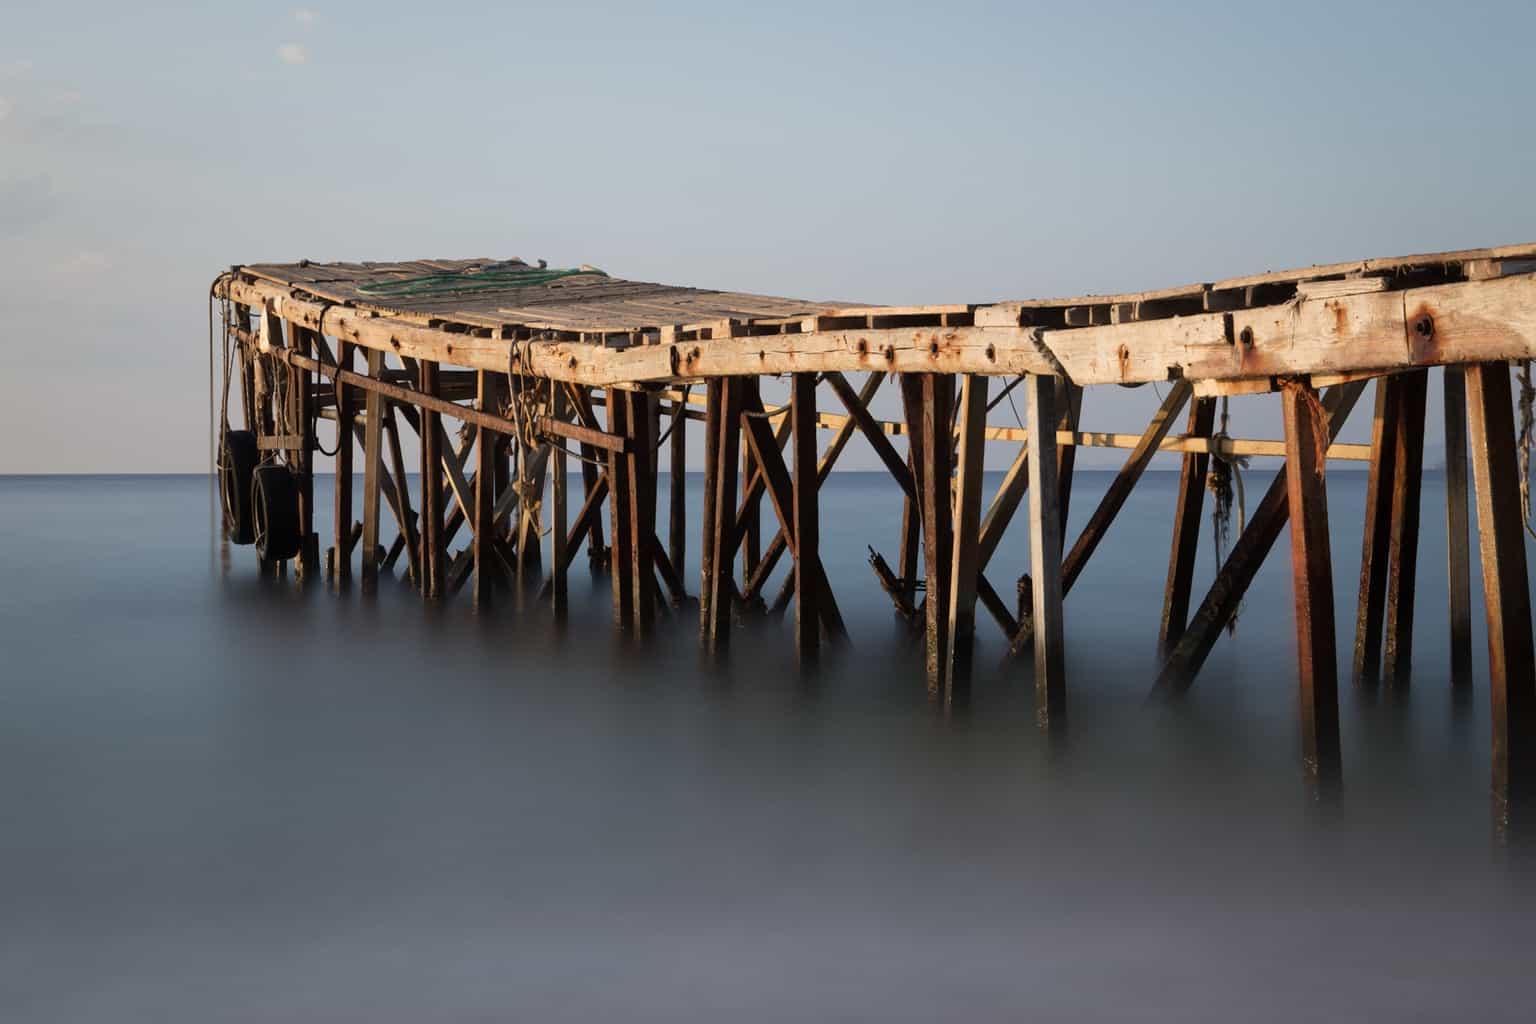
You will be seeing a lot of this jetty. This is a single image capture. One of quite a few I took from different angles at different times of different days. This is the first image. And the best image from my initial cull. This is exactly what I wanted to capture.
The image capture was as follows
60 seconds, F16, ISO100. Taken on my Canon 6D with 24-105mm F4L Lens.
60 seconds. Ridiculous.
My camera was attached to my Platypod Pro, which was firmly pressed into the stones on the beach.
I will write about the image capture separately, something I have been wanting to do for some time. But I have also been excited to edit and publish this image. Which is why I am just going straight for the best shot. No build-up to the main event. This is it.
This picture is the quick edit, and here I will describe how I edited this image in Lightroom.
Firstly, I cropped the image and straightened the horizon.
The RAW file had a significant blue cast, which I corrected using the White Balance tool. First I selected Auto White Balance, which is quite often a good starting point. It was a big improvement, but not quite right. The blue cast was reduced, but the image was still too cold. I wanted the golden sunrise light to illuminate the wood, which is how I remember the scene. The scene had a lovely warm Greek sunrise glow.
Auto didn’t cut it. Neither did the other presets. This was because I used my Lee Big Stopper, a 10 stop neutral density filter. This filter, with a 60 second exposure, gives images a blue cast.
Manual correction of the white balance was what was required for this image. TO do this I merely I moved the Temperature slider over to the right until the image looked good, with the correct colour temperature and colours.
The actual number the temperature slider it ended up was being 8719 by the way. This was purely a visual correction, the number use being where I stopped sliding.
This is why it is important to work on a calibrated monitor, allowing you to correctly make those visual changes to an image.
And don’t forget I am checking the image I am working on on my IPad as well, which is a great alternative monitor.
For those new to my blog and how I work, when I work on images they are always in synced folders in Lightroom, meaning they are accessible to me instantly anywhere using Lightroom Mobile on my IPad.
Happy with the colours, I move on. Well actually no I don’t. I am going to stop there.
All I have done is
- Crop and straighten
- White balance correction
And that is it. I have reset all the other sliders to zero. So this is a single RAW file with the most basic of corrections. Not bad is it?
As a side note, if you are wondering how I keep track of what I have done to an image this is what I do.
Once I have decided I want to edit an image I assign a star rating of 3. If I am going to do multiple edits of the same image I create virtual copies then edit each of them. Once I am done they are given a star rating of 4, meaning they have been edited. I try to keep this as simple as possible.
Tomorrow I will post the black and white version of this image.
And another time I will talk a lot more about my Platypod Pro, but for now check out their website at https://www.platypodpro.com/
Rick McEvoy Photography Blog
Saturday 5th November 2016