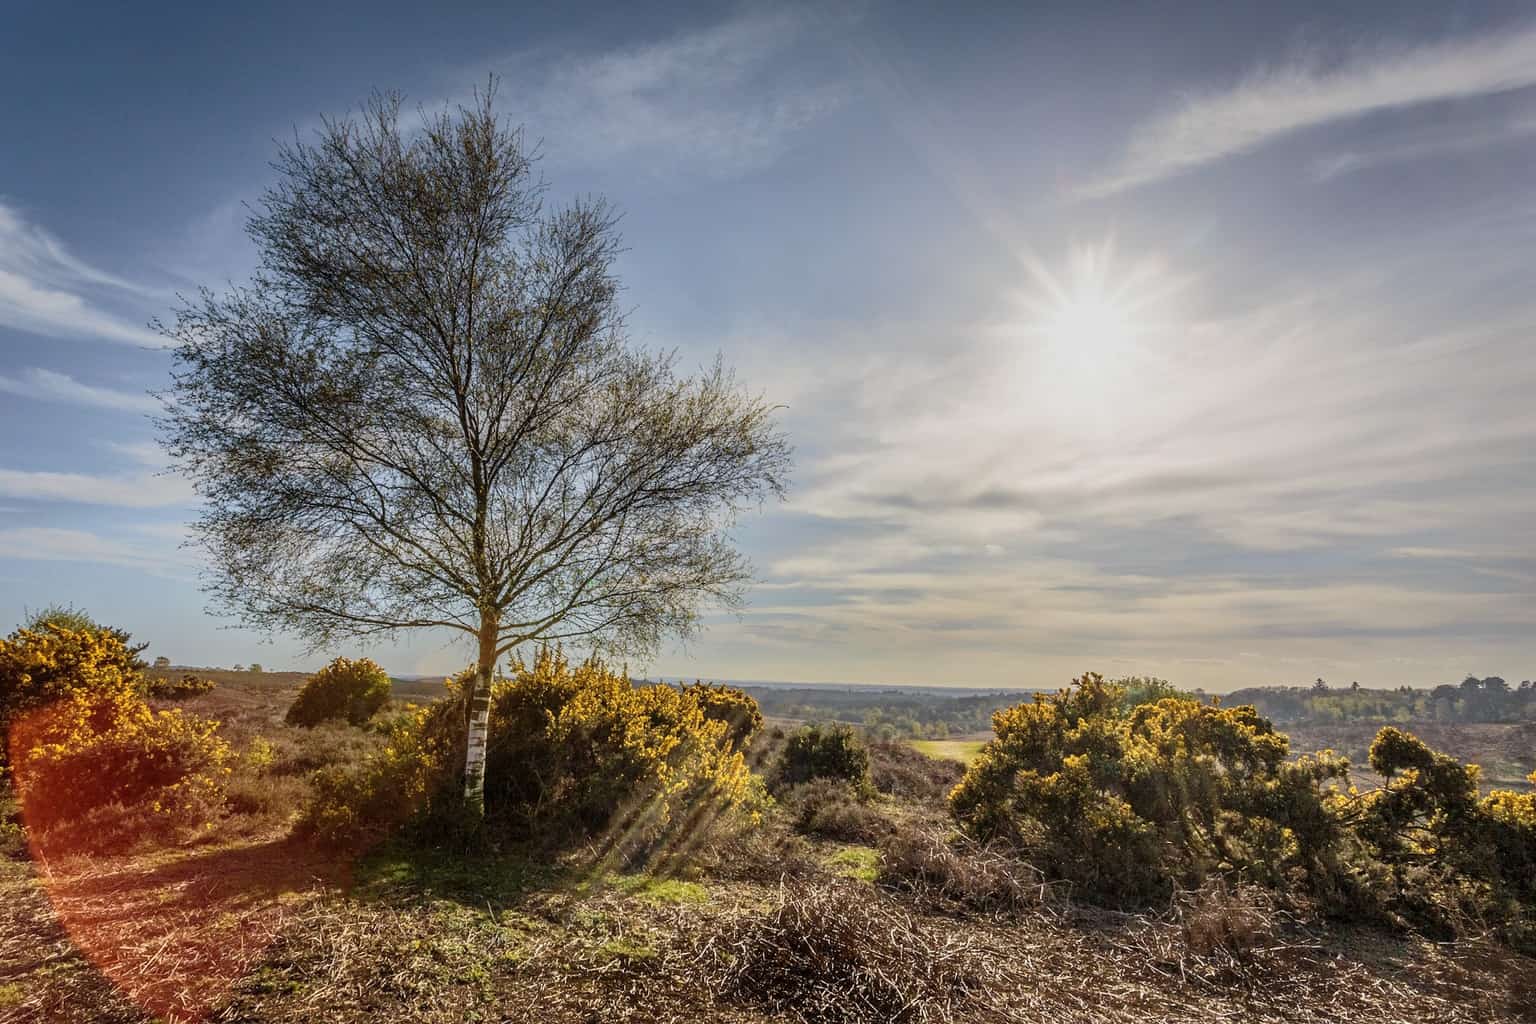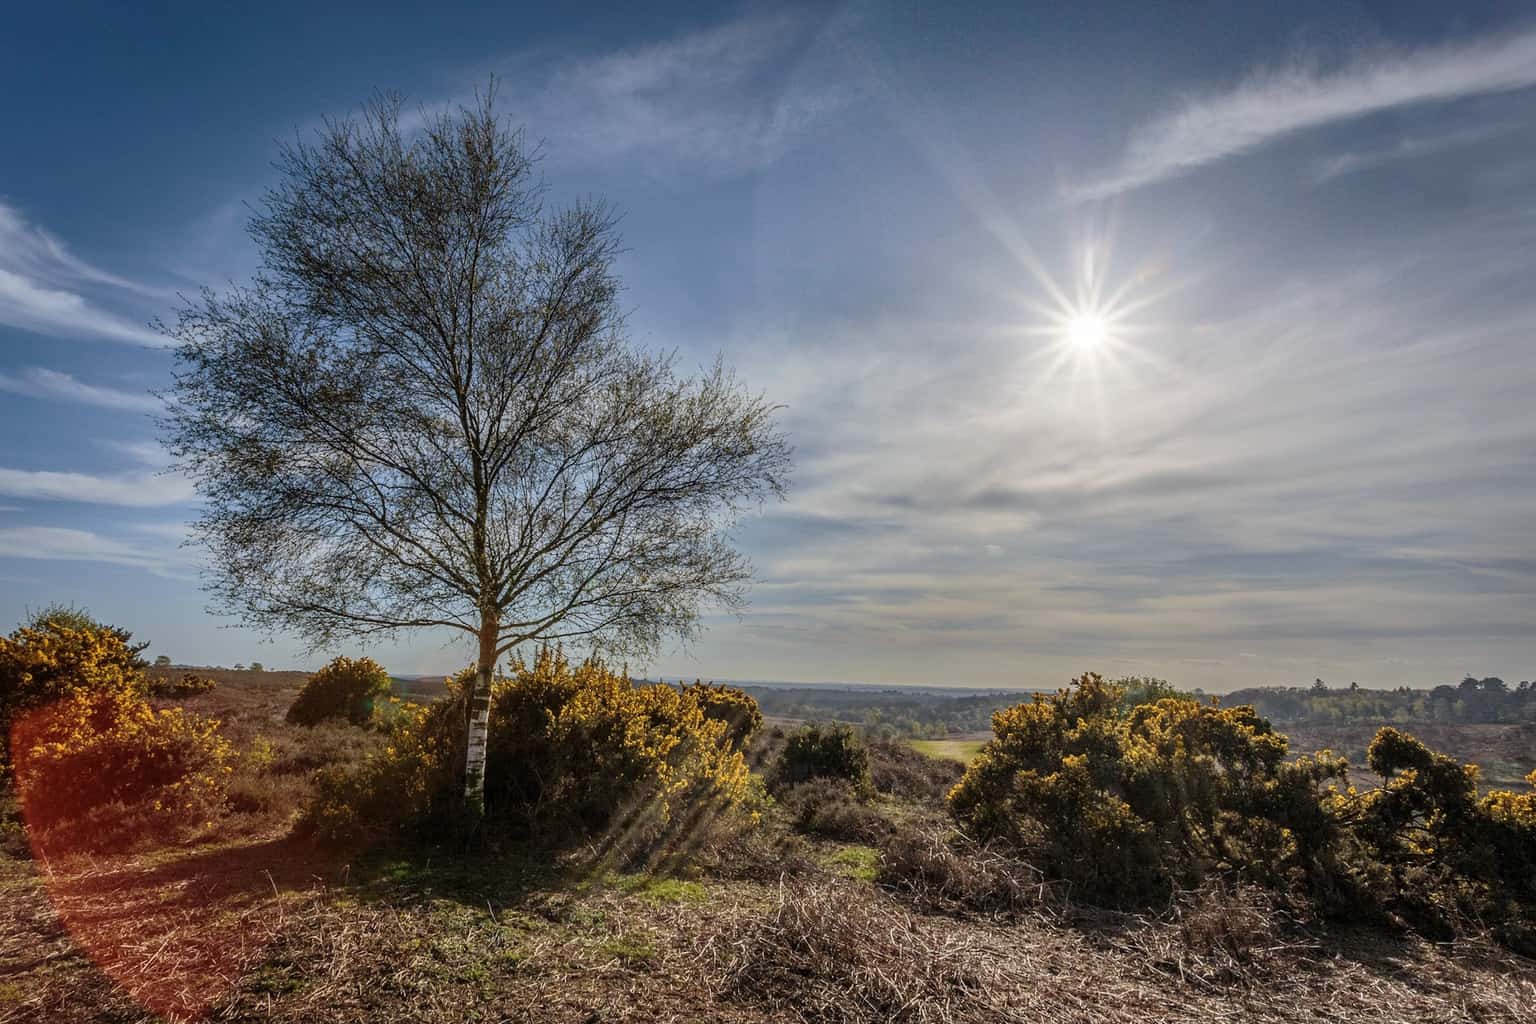
Before I go on, take a look at the image below. Can you see the difference? (Apart from the fact that this image is darker than the image above).

The difference is the ring around the sun,
The second image was the first one I produced. I left Deghost on when I created the HDR image in Lightroom. I forgot to deselect it. There is a significant amount of affected pixels in this image.
The top image is the one I produced in Lightroom without any Deghost at all – I did not need it after all, and this image is a lot cleaner.
I won’t try to explain. Adobe have already done this here
- “Sometimes, after the exposure-bracketed images are merged, some areas in the HDR image may appear unnaturally semi-transparent. Select one of the following deghosting option in the HDR Merge Preview dialog box to correct these anomalies: None, Low, Medium, or High. Try Low deghosting first to obtain a clean merged image. Try higher settings if necessary.
Low: Cures little or minor movement between frames
Medium: Cures considerable movement between frames
High: Cures high movement between framesYou can preview the effect of these settings right within the dialog box. If necessary, choose to view the deghost overlay.”
The important thing to remember is only do the things you need to do when processing an image.
Even more important is to photograph interesting scenes in interesting light!
Rick McEvoy Photography
Sunday 9th April 2017