Each week I will try to write about something new I have learned in Photoshop. I am a product of the Adobe Photoshop Lightroom era. All my digital images are managed using Lightroom. I do 90% of my image processing in Lightroom. I use Photoshop for the following
Removing things.
That is pretty much it.
Things I remove using Photoshop include
- People
- Debris
- Bits left by builders
- Gravel.
- Chewing gum on pavements.
- Dead/ unattractive vegetation.
- Skips
- Hosepipes
- Birds in the sky
- And of course, marks and dust spots on my sensor
I also use Photoshop to tidy up unfinished works, remove cracks and finish off things the builders have not quite completed.
I also remove unwanted items and distractions.
And that is pretty much it.
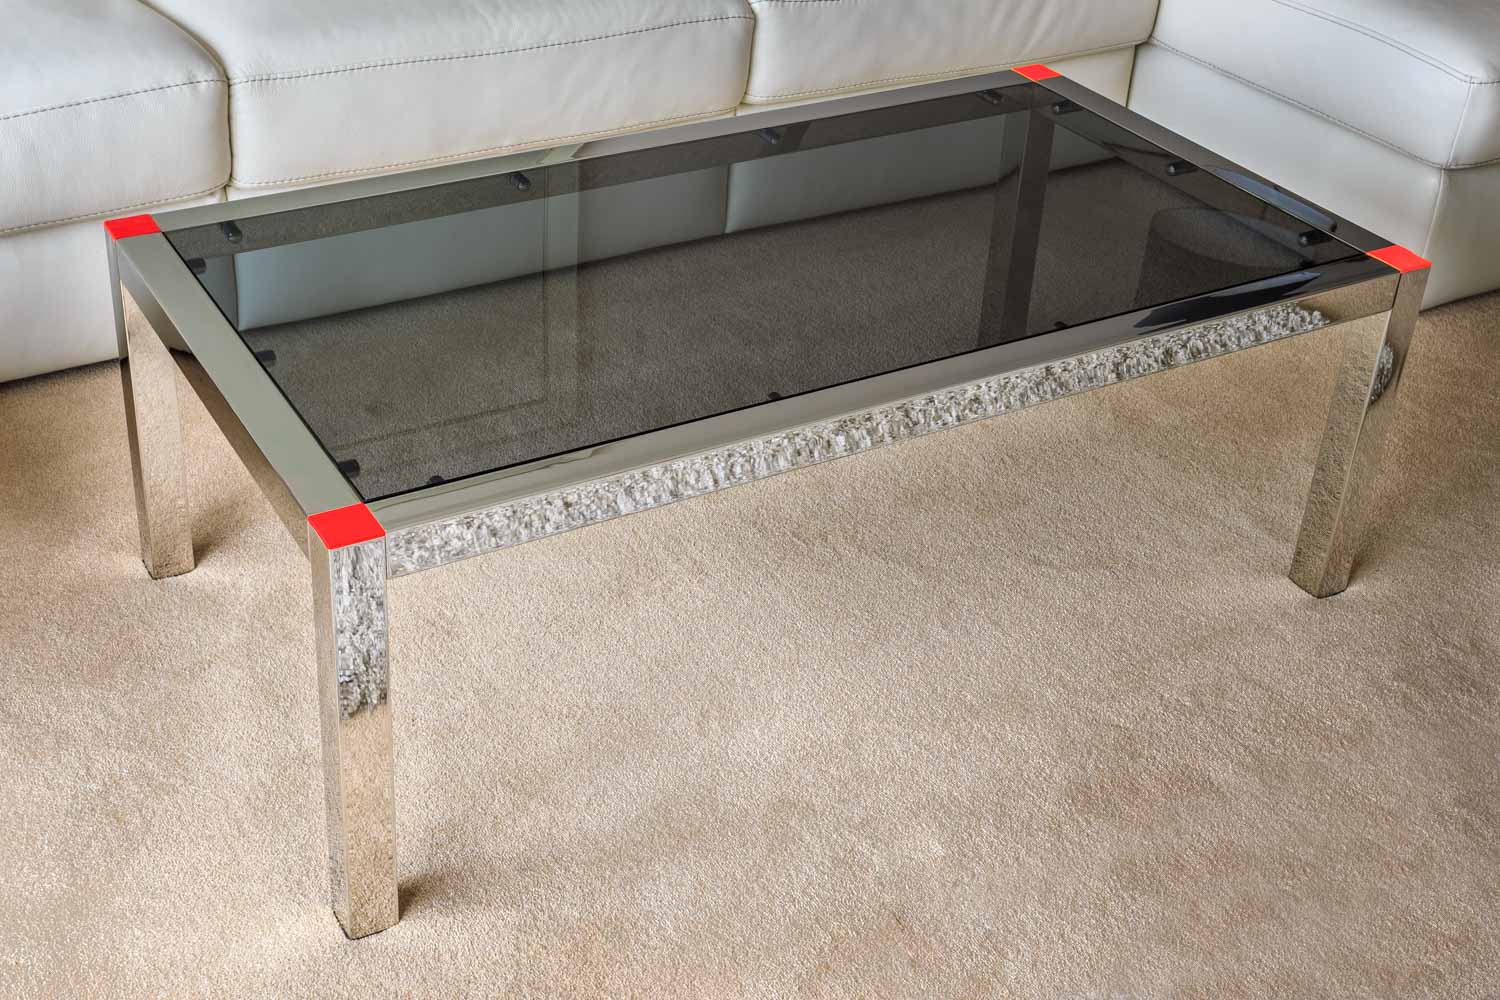
Until I carried out a product shoot of a table which had different coloured caps, one on each corner.
I committed to my client that I would produce a couple of pictures of the table with each of the four colours on all four corners.
This is the table as shot.
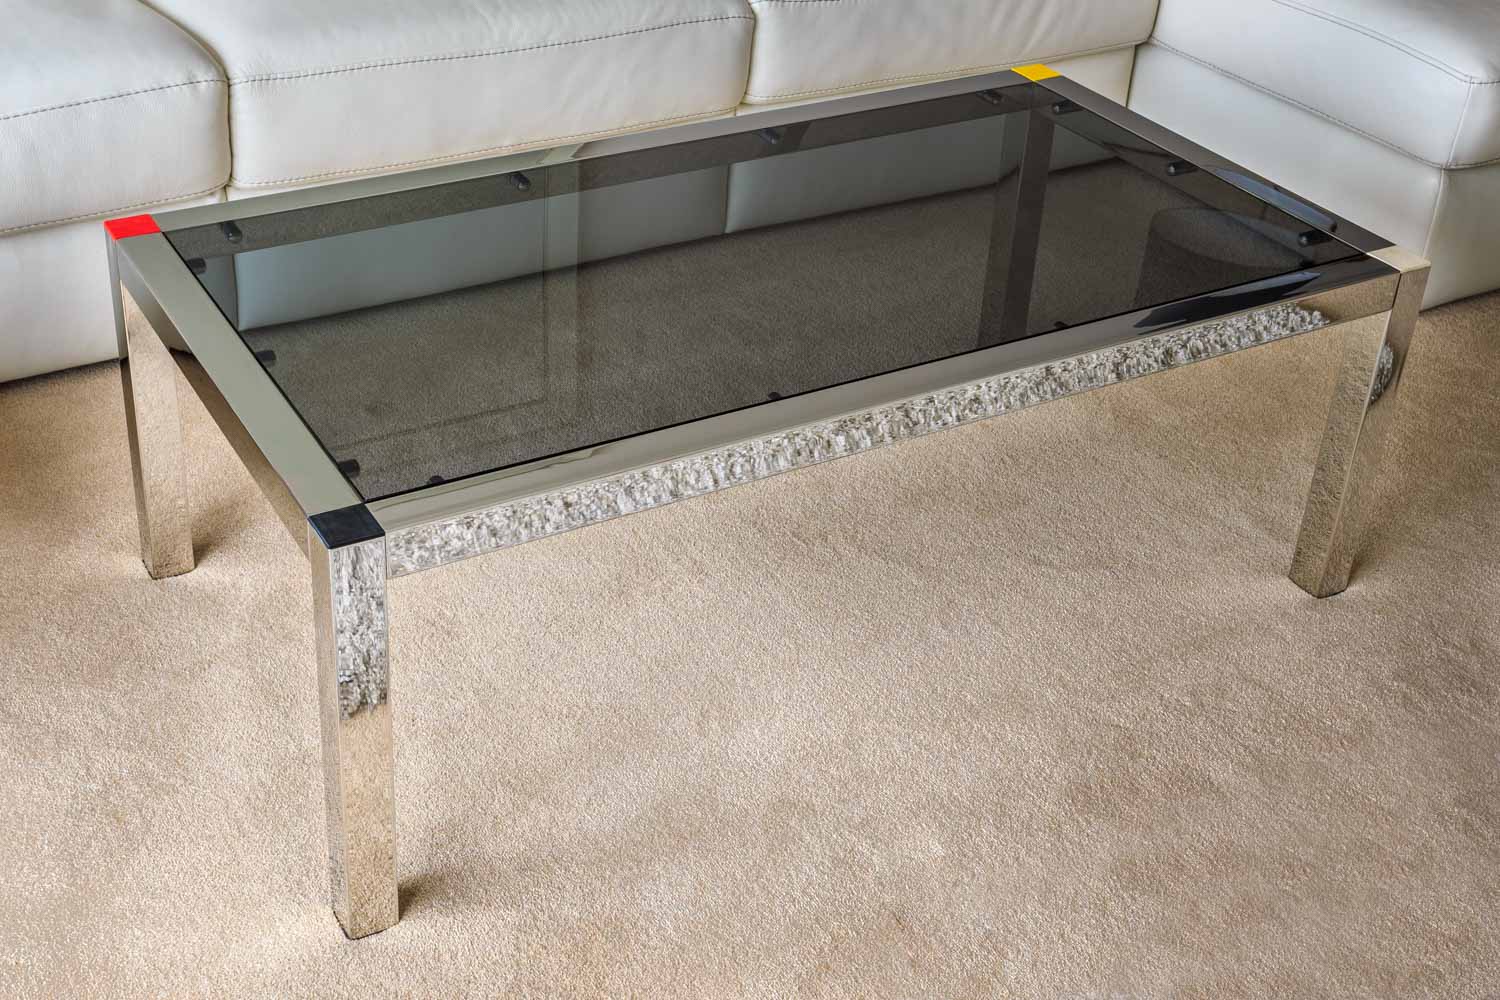
I did not know how to do this at the time of making the offer, so I was forcing myself to learn how to do this.
Thankfully as an Adobe Creative Cloud subscriber I have access to all that Photoshop has to offer, so I knew I had the tools.
I just had to learn how to do this.
And how long did this task take?
One hour.
Just one hour to learn how to do this and then produce the alternative set of images for two different pictures, four variants per image.
And this is how I did it.
Before I go on, there is normally more than one way to do most things in Photoshop. This is the way I did this, and not by any stretch the most efficient way I would imagine.
But I got the job done.
I opened the image with the four coloured corner caps in Photoshop (from Lightroom). I then opened the close up shot of one of the coloured corners.
I used the quick selection tool to select the four end caps, all different colours. I then did the same with the close up of one of the coloured end caps.
I then selected Image, Adjustments, Match Colour. I had to make sure the source and destination files were correct, then hit OK.
I had to adjust the Luminance and Colour Intensity, which you can view in the preview.
But that was pretty much it. First image done.
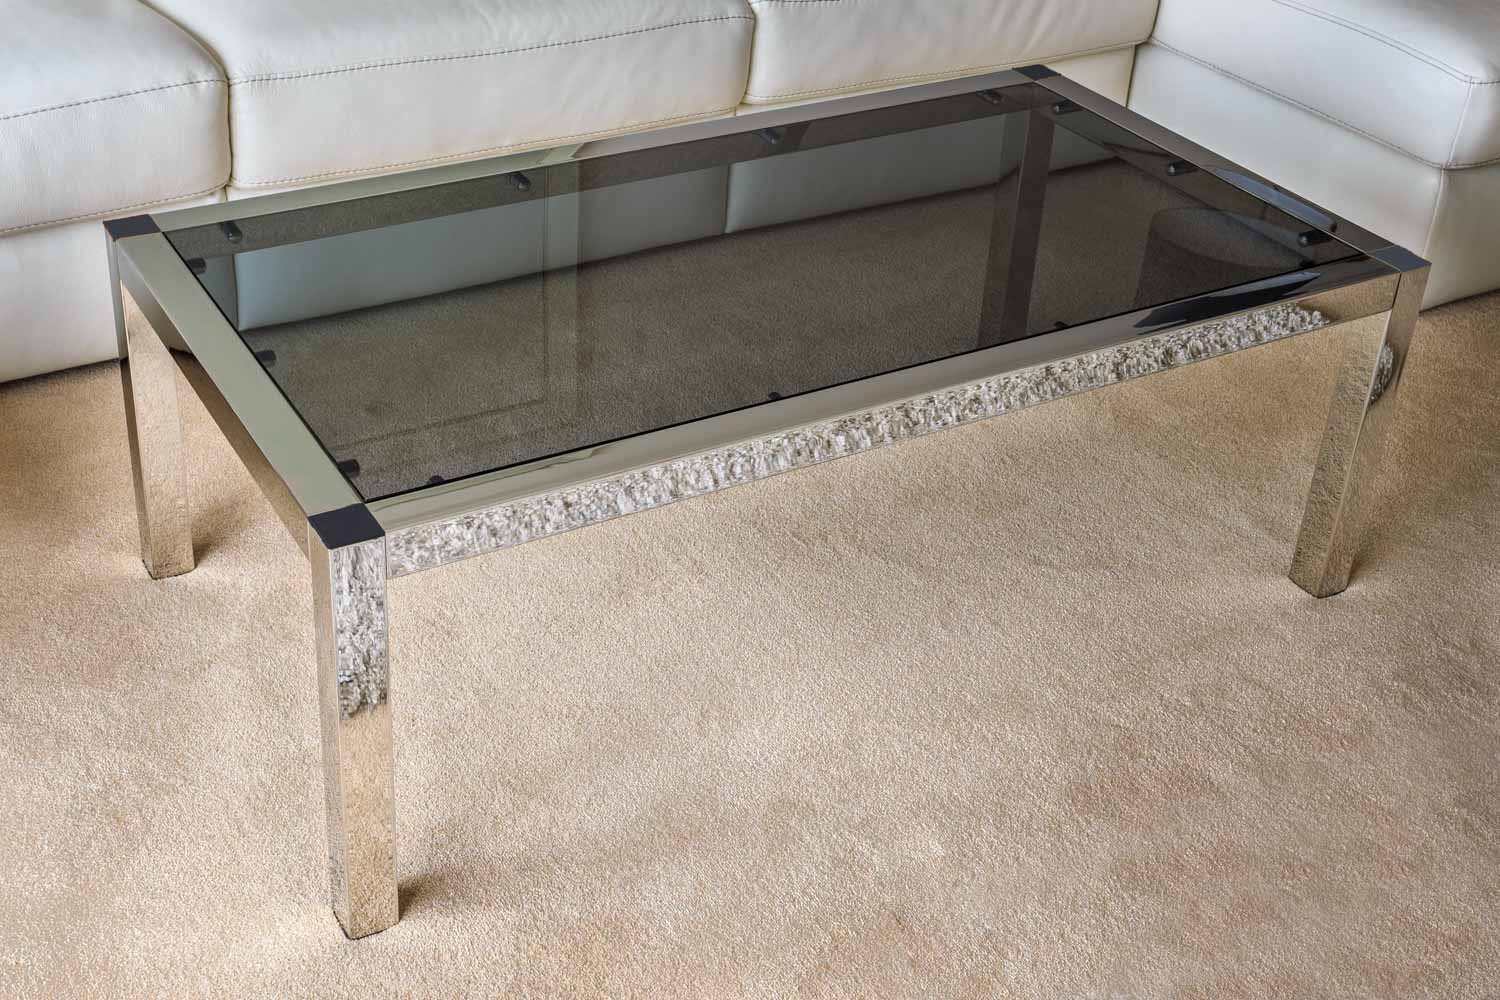
I repeated the process for each of the colours, saved each one as a new file with the colour in the file name, closed all the files and then repeated the exercise with the other image.
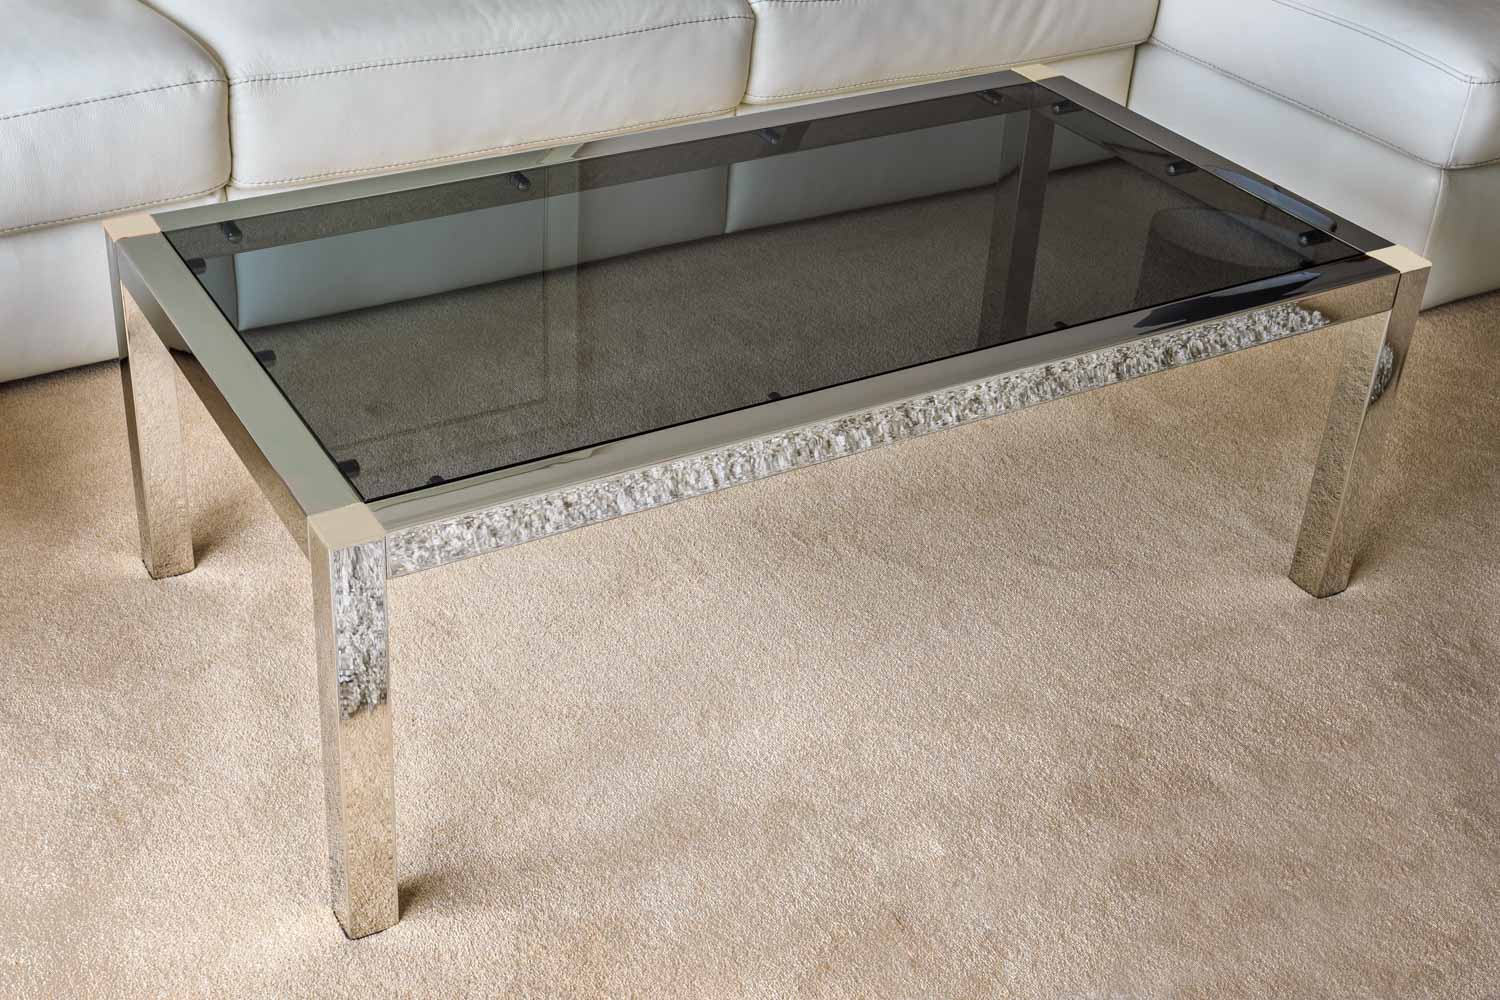
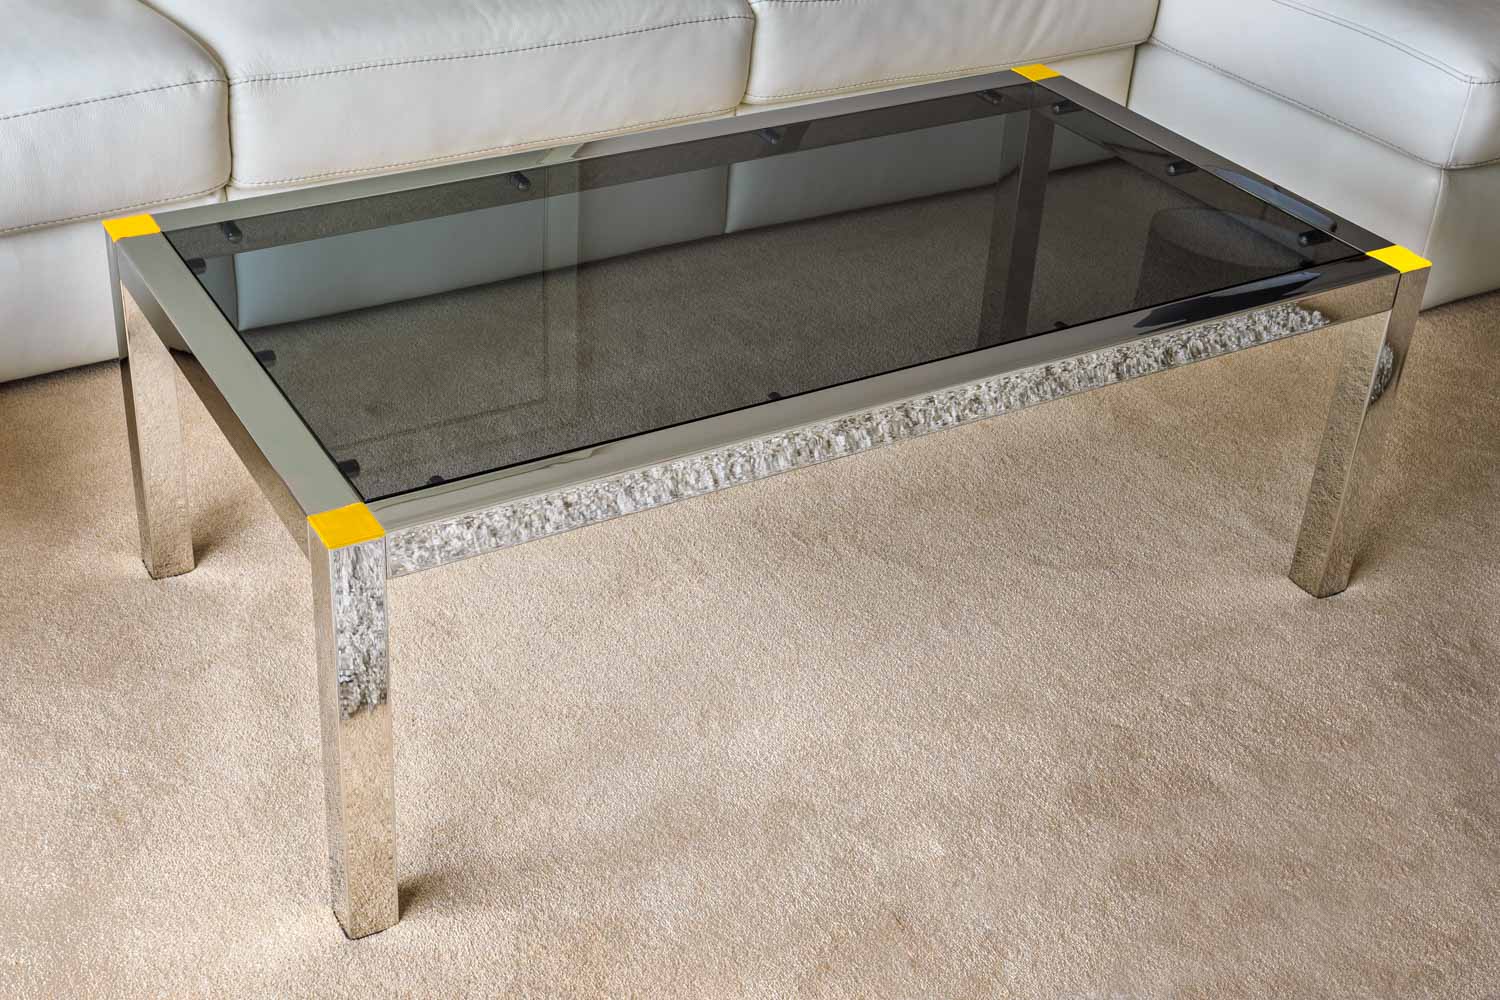
All the images saved back into Lightroom, nicely placed back on the stack with the original images.
I did not use layers for this adjustment, as I did not need to. I will try this again with layers as I get to learn how to use layers properly.
This little exercise has given me the nudge I need to learn more in Photoshop – I enjoyed this and am keen to earn more – problem is I need things to actually do.
I will try to write a post each week on something I have learned in Photoshop.
And one last thing – Photoshop really is amazing.