Yes, I take every photo that I take with my camera on a tripod, if there is room that is. Why do I do this? Well let me tell you right here.
I take photographs of buildings with my camera on a tripod to
- Get the best composition I can every time
- Get technically correct photos in camera every time
- Take photos with the aperture I want to use for the highest quality image capture
- Take photos with the lowest ISO for the highest quality image capture
- Take tack sharp photos every time
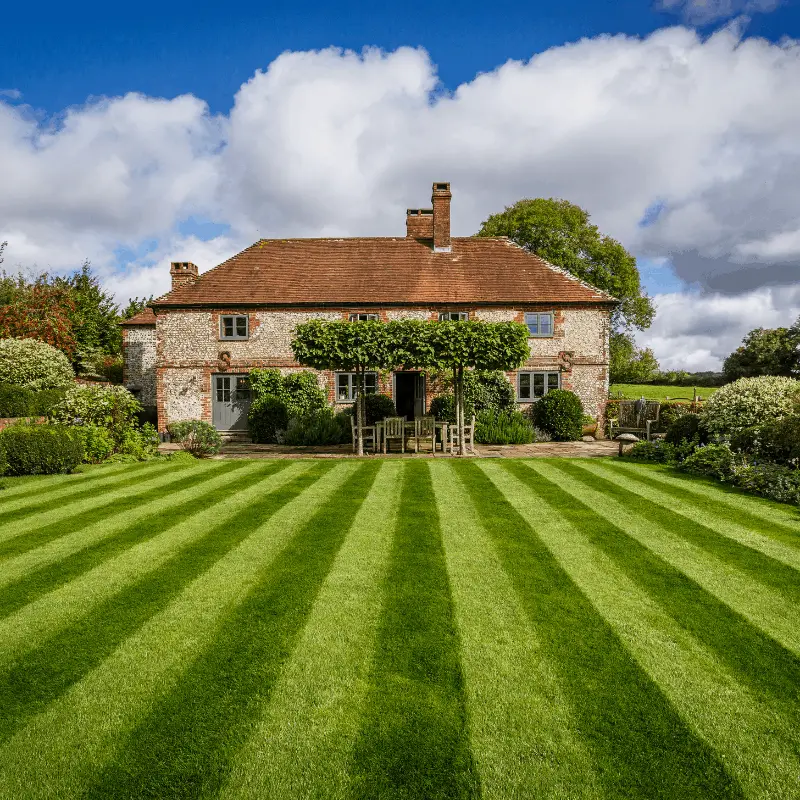
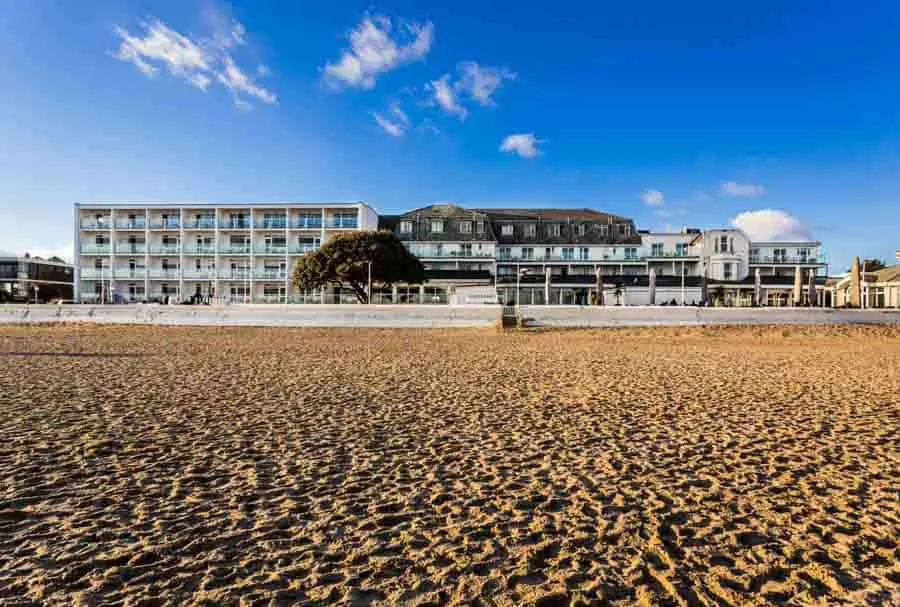
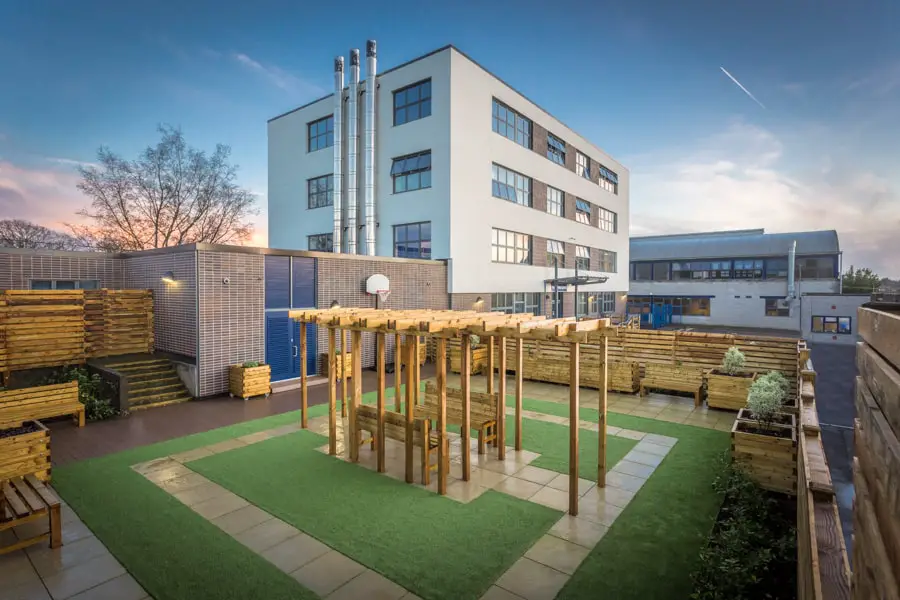
- Get the best photos I can of buildings every time
And one final thing, I really do enjoy taking photos with my camera on a tripod. Yes I really do. OK – lets get into this one.
Who am I?
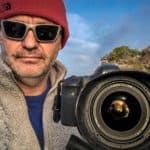
I am Rick McEvoy, photographer, podcaster, blogger, photography educator and all round good egg. I live and work in the UK. I photograph buildings, nice places and buildings in nice places. This is what I do.
And I teach beginner photographers how to become real estate photographers, in my course, called, erm, How To Become A Real Estate Photographer – check out my courses page for more on this. I also teach photography things one at a time in plain English in less than 10 minutes without the irrelevant details on my splendid Photography Explained Podcast.
OK – that is me. If you want to know anymore just explore all the good stuff on my website.
Enough about me, let’s get back to me and tripods.
The tripod
A tripod is a bit of gear that provides a firm, level base for you to put your camera on to help you take photos.
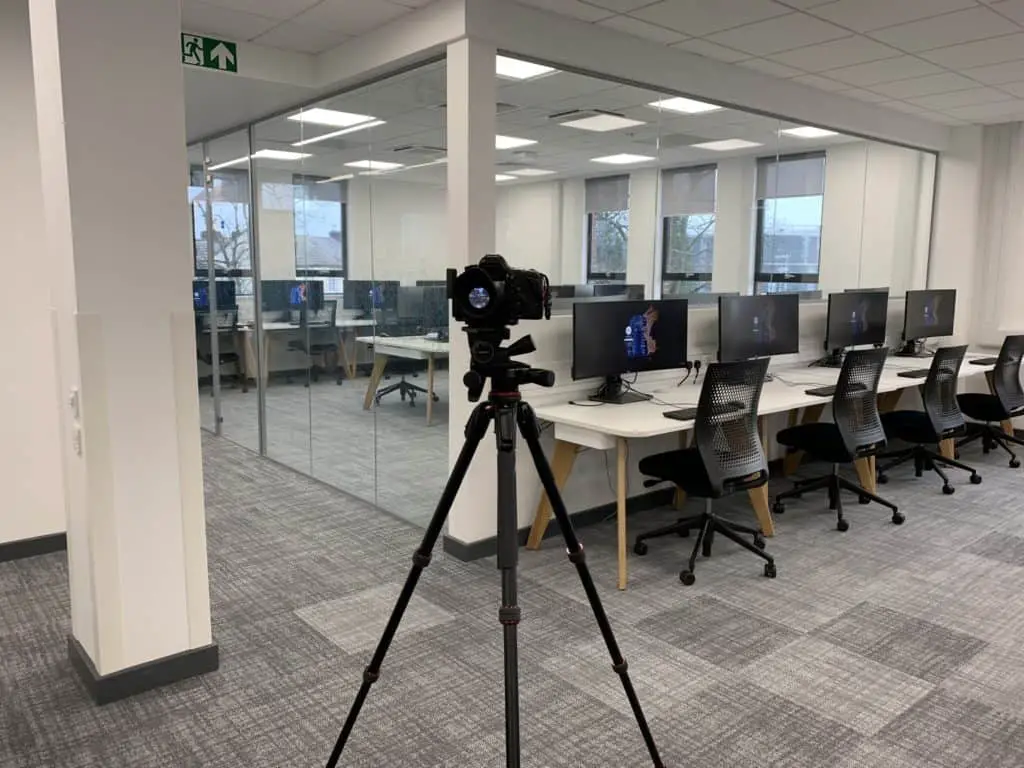
I want to start with my tripod of choice. It is the Manfrotto 190 Go. Not a big, fancy expensive thing, just three legs and a stable platform that works for me.
No offence Manfrotto, but the tripod here is not the star of the show – oh no. But it’s ok because you make that as well. The star of the show is the tripod head.
The tripod head
Tripods come in two parts. The legs and the head. The legs are erm, the legs. They are the three sticky out bits that the tripod head sits on.
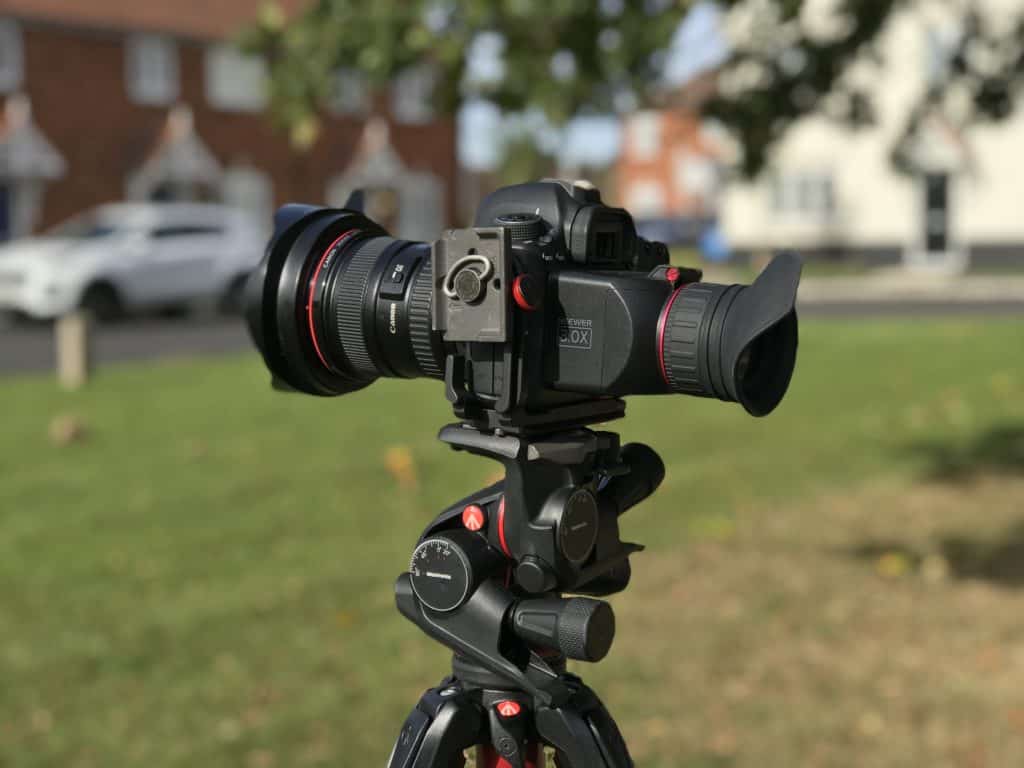
The tripod head is the thing that sits on top of the tripod legs, and this is what the camera is fixed to. The tripod head moves the camera to get the composition that you require.
And it is this movement that makes the head the star of the show.
My tripod head of choice is the Manfrotto XPRO 3-Way Geared Head. More on this in this post.
Get the best composition I can every time
I prefer taking photos with my camera on a tripod. This is how I get the best composition that I can. I walk around first, find what I think is an interesting composition, then put my camera on my tripod and get to work.
With my camera on my tripod the camera is fixed, so I have to pick up the whole thing and plonk it down a few times, which is fine, and what I do for pretty much every photo that I take. But the very nature of doing this is a deliberate, considered act.
And I will go backwards and forwards, as I want to use 17mm and fill the frame with the subject, which is just what I do.
So this takes me time, as long as it needs to. And this is time spent thinking about what I am photographing, what I am going to include, and also what I am not going to include.
This really does help me think about my composition.
And is the composition not the most important thing in a photo?
Refining the composition
Once I have something that I am happy with, I then refine the composition by making small adjustments, zooming in and out, and getting the composition technically correct.
More on that in a bit, but the point is that I get the best, most aesthetically pleasing composition that I can first, and then sort out the technical stuff.
Check the edges.
Yes, very important, check the edges. Is there something sticking out, a tree branch, a TV aerial, an arm, that kind of thing? Things like that can really detract from a photo, so if there is, and you can, recompose. We should be looking to get these things right in camera, not deal with them afterwards in Photoshop.
And that is what I used to do. Just get the photos and sort them out later.
Keep checking
I look at the composition through both the optical viewfinder of my Canon 6D and the ever so average (OK it is a few years old to be fair) LCD screen. I flick flack between the two.
Once I am happy I will take a photo and see that it looks like on screen.
And the result of this?
I take less photos, and the photos that I take are better. Seriously this is what has happened to me, which is a wonderful thing.
Get technically correct photos in camera every time
This is so important for me. And this is where the geared head comes in. And the fact that my camera is on a tripod in the first place.
See I can use the levers to get the composition about right, and then smoothly rotate the micrometric knobs to get very fine adjustment in all three planes. And here is a top tip for you.
Get the horizontals sorted first
I get the camera level, and the horizontals sorted first, and then the verticals after. This works for me, and gets me quickly to a technically accurate composition.
The photos that I take have the best composition, and are corrected vertically and horizontally. This gives me a better starting point in Lightroom, and less work to do in Lightroom too – both good things.
Get technically correct photos in camera for correction in Lightroom
Sometimes I cannot get a buildings verticals sorted in camera, normally because of the viewpoint and the height of the building, and the space available for me to work in.
If this is the case I simply recompose to give me the best chance of being able to finish the job off in Lightroom without having to go to Photoshop to add bits back in.
This means repositioning my tripod and getting a composition as vertical as I can get but with enough space to allow me to do further adjustments in Lightroom.
This will normally mean taking the photo from further back and leaving more sky to work with.
And having my camera on a tripod helps me to do this as well.
Take photos with the aperture I want to use for the highest quality image capture
My camera is on a tripod. It is not moving. I use the self-timer built into my camera to activate the shutter release button, meaning that there have been 10 seconds between me gently pressing the shutter release button and the photos being taken.
My camera is not moving. And the subject is not moving. And this means that the shutter speed is, most of the time, pretty much irrelevant. And that means that I can choose the aperture that I want to give me the highest quality image capture. And that aperture will be selected to also give me the depth of field that I need for a photo.
Take photos with the lowest ISO for the highest quality image capture
And I can also choose the lowest ISO, which also gives me the highest quality, as the shutter speed is what it is.
The lower the ISO the better, so I shoot at ISO100 whenever I can.
Take tack sharp photos every time
Again the camera is not moving, everything is rock solid. And I focus carefully once I have the composition.
Everything that you need to do to get the sharpest photos that you can.
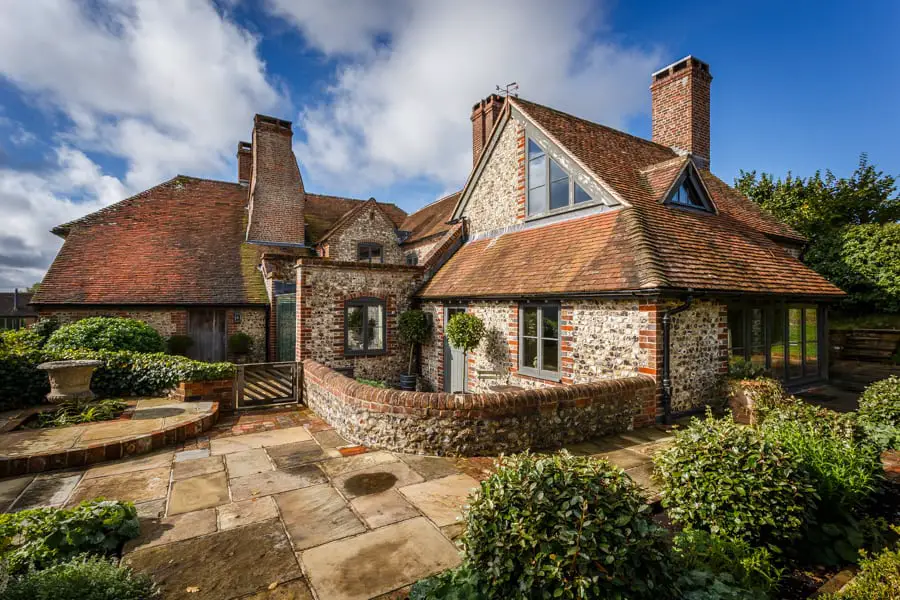
Get the best photos I can of buildings every time
All of the above combine to allow me to get the best composed, highest quality photos of buildings that I can. And yes I do take every photo on a tripod. The only exceptions to this are where I physically can’t due to
- Location – on a mobile platform/ up a ladder – that kind of thing
- Location – somewhere where it is not safe to use a tripod
- Camera on a painters’ pole – yes I take photos with my camera 5m above the ground
Other funky reasons, such as I have to hold my camera out of a window to get a shot. Yes I have done that many times.
Apart from these unusual situations I take every photo that I can with my camera on a tripod.
A word on the gear
I use a Manfrotto 190 Go and Manfrotto XPRO 3-Way Geared Head, Not big, fancy expensive kit. Which might surprise you? Well I have bought bigger, more expensive, more “professional” tripods in my time, but I have always gone back to the 190 Go.
It works for me, that is all that matters. You don’t have to have the best, fanciest gear. Just find the gear that works for you and use it.
Same goes for the tripod head. I have used, and since sold, much more expensive tripod heads than the XPRO 3-Way Geared Head that I use now.
Again, it works for me.
My camera gear is not there to impress clients. It is not there to make me look more professional, to make more look more like a “real photographer”!
No, my gear serves one purpose and one purpose only – to help me get the photos that I need to get.
Other tripods?
There are times when I need something else, I might need a different viewpoint. I mentioned the painters’ pole briefly – this gets me up to 5m above the ground.
But sometimes I need to get lower. And to do this, rather than faffing around with my tripod I simply put my camera on a Platypod, a metal plate with a tiny ball head that my camera attaches to that I can put on the floor, a table, a scaffold, the top of a wall, anywhere really to give me that point of view.
And I also have a Manfrotto Pixi, and a Jobi Gorillapod, which come in handy for all sorts of things.
Summary
I take photos with my camera on a tripod whenever I can. This helps to get better composed, sharper, technically correct images.
I take less photos, and the photos that I take are better.
Related reading
Well there is loads of stuff on my blog, loads of stuff. Just put that you are looking for in the search box and you should find what you are looking for, as long as it relates to photos of buildings that is.
And check out my gear page for a full list of the gear that I use.
Related viewing
Watch this You Tube video where I show you how my geared tripod head helps me make fine adjustments, to get the accurate compositions that I need.
Ok – I am done here.
Any questions get in touch via my website. It would be great to hear from you.
Cheers from me Rick