I have written a few articles about construction photography recently. Well why not, this is after all what I do.
In this post I tell you about 13 bits of photographic gear that I value the most when I am working taking photos on construction sites. Some of these things are obvious, some not so obvious, and some you would have probably never have thought of using. Well one thing in particular. This is not a highly technical review of the gear I use for construction photography – far from it. This is practical advice on stuff that helps me get the photos I need on construction sites.
And you will see that some of the most invaluable photography accessories are far from expensive.
Who am I?
I am Rick McEvoy, an architectural and construction photographer living and working in the lovely South of Engand.
I have a lifetime of construction and photography experience which I share in my photography blog. And this is one more post written to help photographers get better photos on construction sites.
I write about my own personal experiences and gear that I use myself in my work.
And I do not go into any irrelevant detail – I just tell you enough to help you and I take better photos on construction sites.
OK – that is the sales pitch out of the way – let’s get into all that lovely gear.
1 – Canon 6D
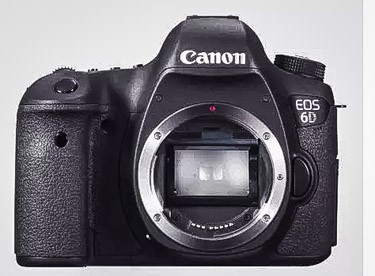
Yes, the Canon 6D Mk 1. The original version that I still use for my commercial photography work. Why do I not have something a bit more cutting edge?
I don’t need to – that is why. The Canon 6D was released in 2012, was a great camera then and still is now.
It just works and takes great images. I know my Canon 6D inside out. I do not need all the bells and whistles for the work I do – I just want consistently high quality images and not to have to worry about my camera and have too many options.
And the Canon 6D is weather sealed so no problems with dust getting in, or me having to worry when it rains.
As I said it just works.
What camera will I replace this with when it finally falls over?
Well I quite like the look of the mirrorless Canon EOS R but will be more than happy with the Canon 6D Mk 2, still going and a decent upgrade from the original camera. And my good old lens which I will get onto next.
I have already invested in another mirrorless system by the way.
Camera settings
I use the Canon 6D in AV Mode, with an ISO of 100, use back button focus and that is my camera sorted so I don’t have to think about camera settings most of the time.
2 – Canon 17-40mm F4 L lens
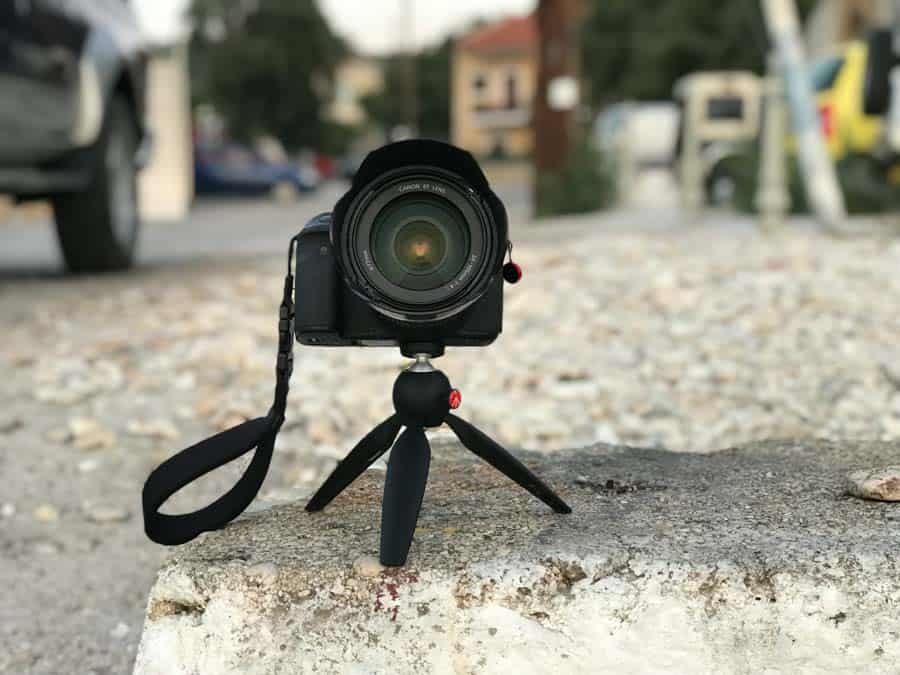
Not the obvious lens of choice, but the Canon 17-40mm F4 L lens go to lens that I use on most of my construction site photography. Not an expensive lens, but a great lens, somewhat underrated in my opinion.
I tend to use this lens at 17mm most of the time, which works for me nicely. Sometimes I actually tape the zoom ring so that the lens is at 17mm.
17mm is a good focal length for sites and also for interiors – go any wider and you are in danger of exaggerating the size of a space. 17mm works nicely to give wide but realistic interiors.
And I dial in F8 most of the time. And leave auto focus on. Well why would I not?
Using this lens at 17mm has helped me get the look that I now provide. And being an L series lens it is dust and weather sealed.
And as I rarely change from this lens I don’t have problems of stuff getting into the sensor chamber or the rear element of the lens which is good working on dusty construction sites.
This is the gear that I use – it just works and gives me consistently great images.
When I am on site I do not have time to play around with my gear – all the settings are dialled in and all I have to worry about is what I am pointing my camera at.
And this camera and lens combo is weather sealed so one less thing to worry about.
3 – Manfrotto 190 Go
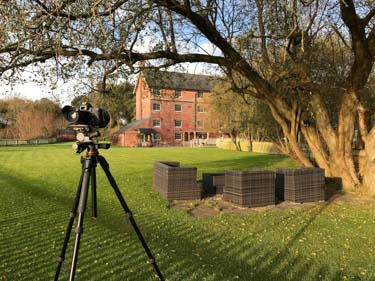
Small, lightweight, portable and compact but stable enough for my needs. I take all photos on a tripod (or other kind of support) whenever I can. I only take photos with my camera in hand when I have to. This is in part why I do not need to worry about my camera settings, as most of the time the shutter speed is irrelevant to me as my camera is on a tripod.
And believe it or not use a tripod and you get better compositions! Seriously it is true.
4 – Manfrotto XPro geared head
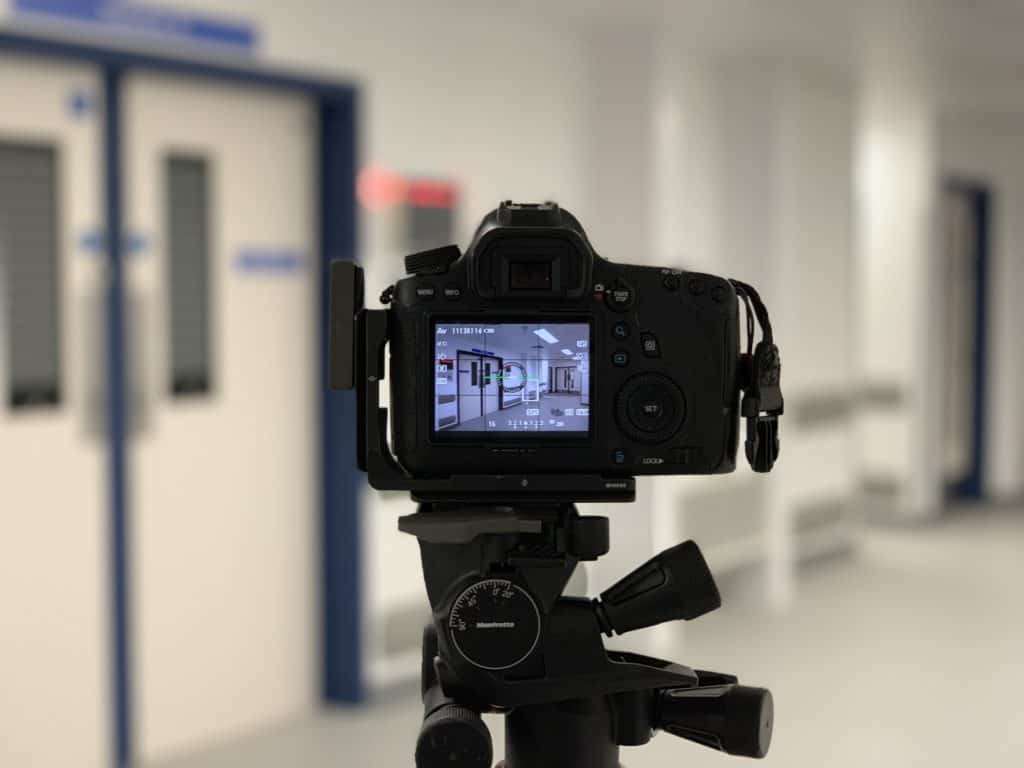
Very important.
It has three levers so I can quickly get the composition I want. And once I have the general composition I can rotate the ends of the levers which are the geared bits to fine tune what I take a photo of.
The geared levers give me very precise adjustment, allowing me to nail the composition and also get the verticals and horizontals correct. And to exclude things around the egdes.
Doing this saves me loads of time processing images.
When I go back to a ball head on a tripod I miss this bit of kit so much. A ball head feels really hit and miss, nothing like the precision of this wonderful geared head.
And I also use this on my landscape photography work.
Not expensive and completely invaluable.
5 – Grey card
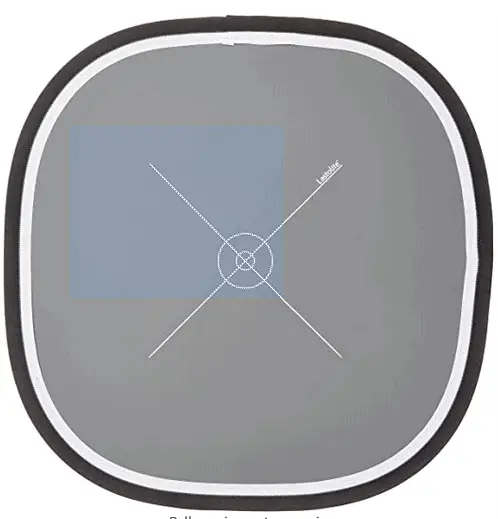
I use this neat bit of kit to help me quickly get the right white balance. I shoot in RAW and process images on a calibrated monitor, so this is all I need. I put the card, which isn’t a card by the way, in the first photo where it catches the main light source. I take a photo, remove the card then take the shots I need in that area.
If I go somewhere else where the lighting has changed I take another shot.
Back in Lightroom 95% of the time all I need to do is click on this card in the photo using the white balance eye dropper and that is my white balance done!
6 – Peak Design Everyday Backpack
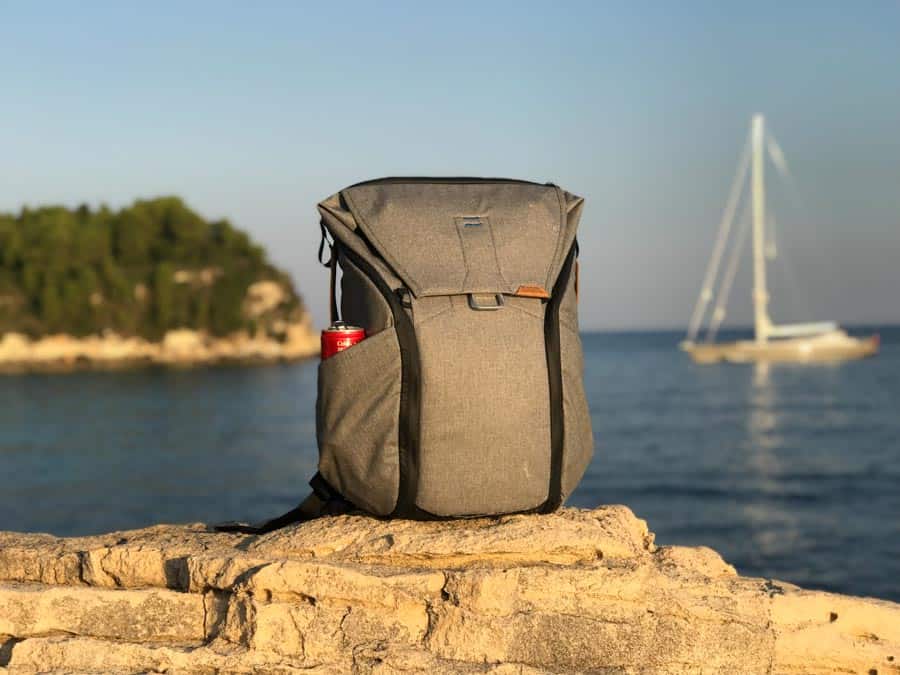
I need to be able to get around construction sites quickly. I need both my hands free to climb ladders, get around scaffolds and difficult parts of construction sites.
I am a liability with a massive roller bag and loads of kit. I will get in the way and it will take me longer to get the shots I want.
No I am mobile and hands free getting around sites.
7- Painters pole
Yes, a painter’s pole. Any pole will do, it is the bit that goes on the end that is the clever bit. I have the EVO PA-100 Painter’s Pole to 1/4-20 Tripod Thread Adaptor – you can get one of these for £20. It screws into the end of the pole where the roller normally goes, and has a screw sticking out the other end that, as if by magic, you can screw into the tripod thread on the base of your camera!
No it does not fit in my bag. I have to strap this to the outside of my bag. Well it is 2.4m long after all!
I normally leave this in my car and go back for it if I need it.
Here is me using it in a live gravel loading facility.
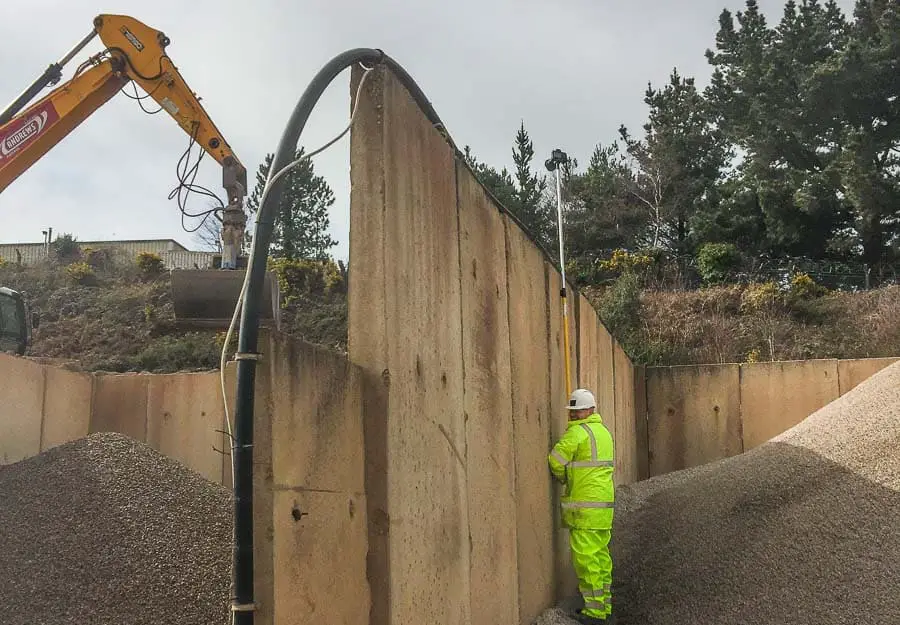
And here is the photo I got using this device.
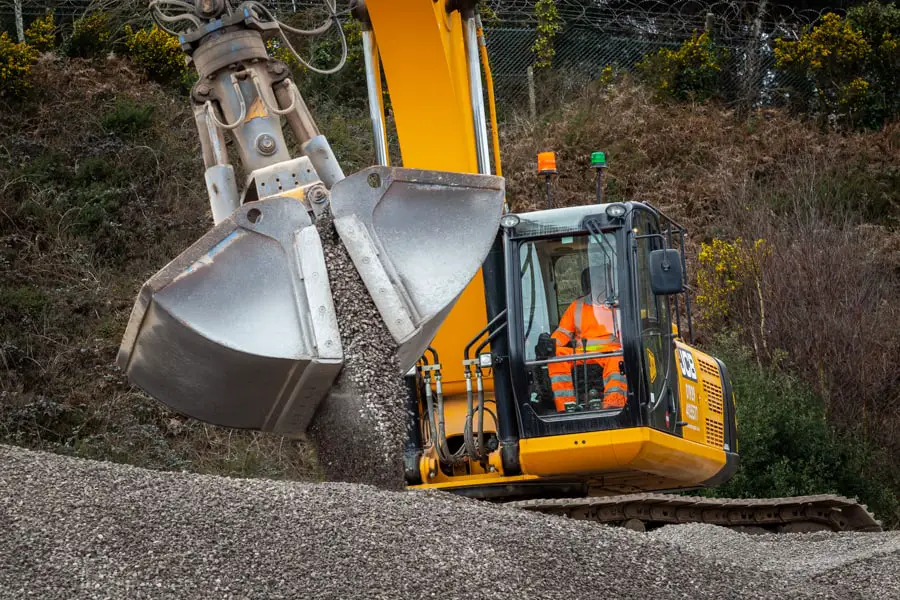
I quite literally could not have got this shot without the painter’s pole.
8 – iPhone as remote release
You might have asked yourself how I take photos with my camera stuck on top of a pole? Well the Canon 6D does have Wi-Fi so I connect my phone to the camera using the Canon Connect app. I can view the image on my phone and also focus where I want to using this app.
Quick tip here – if you are going to do this get a case for your phone with a neck lanyard – I once dropped a phone taking a photo with my camera on top of my pole, which was not good as it cost my sixty quid for a new screen.
The case cast less than a tenner and I have used this to shoot videos underwater with my phone too!
9 – Platypod
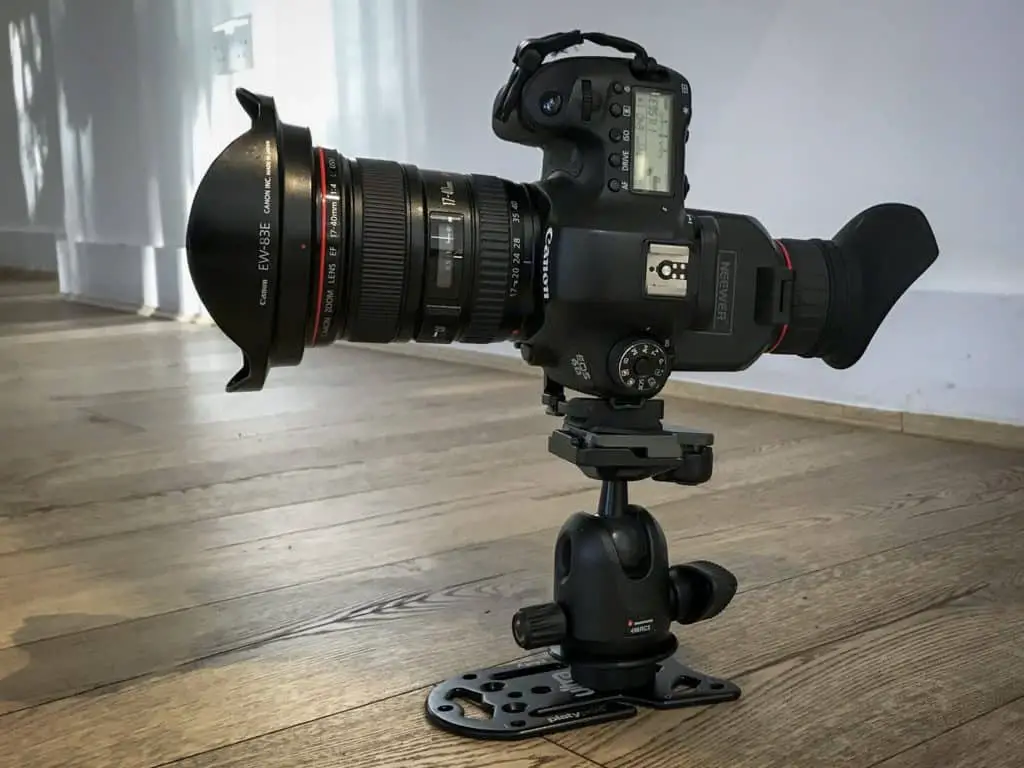
A Platypod is a metal plate that you attach your camera too. I have used this on many occasions to take photos mainly at floor level. This gives a different perspective which helps make my images stand out from the others.
I take photos from high up and very low down giving me an extra something.
Not cheap to be fair, but very useful, and also very lightweight and slides into a pocket if needed.
And you can also use them in places where photography with tripods is not allowed!
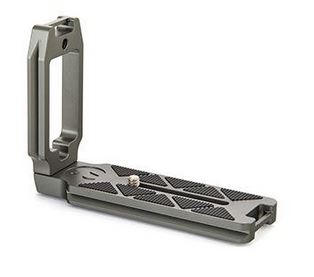
10 – Three Legged Thing Universal L Bracket
Costs less than fifty quid but equally invaluable, the L bracket is fixed to the camera using the tripod thread. Once attached I can change from landscape to portrait orientations without messing up the composition. I use this all the time to get the same composition in landscape and portrait views.
11 – High Vis
Yes you need a high vis.
This is mine – yes I got my own branded one which does the job nicely. Not expensive. And it makes me smile.

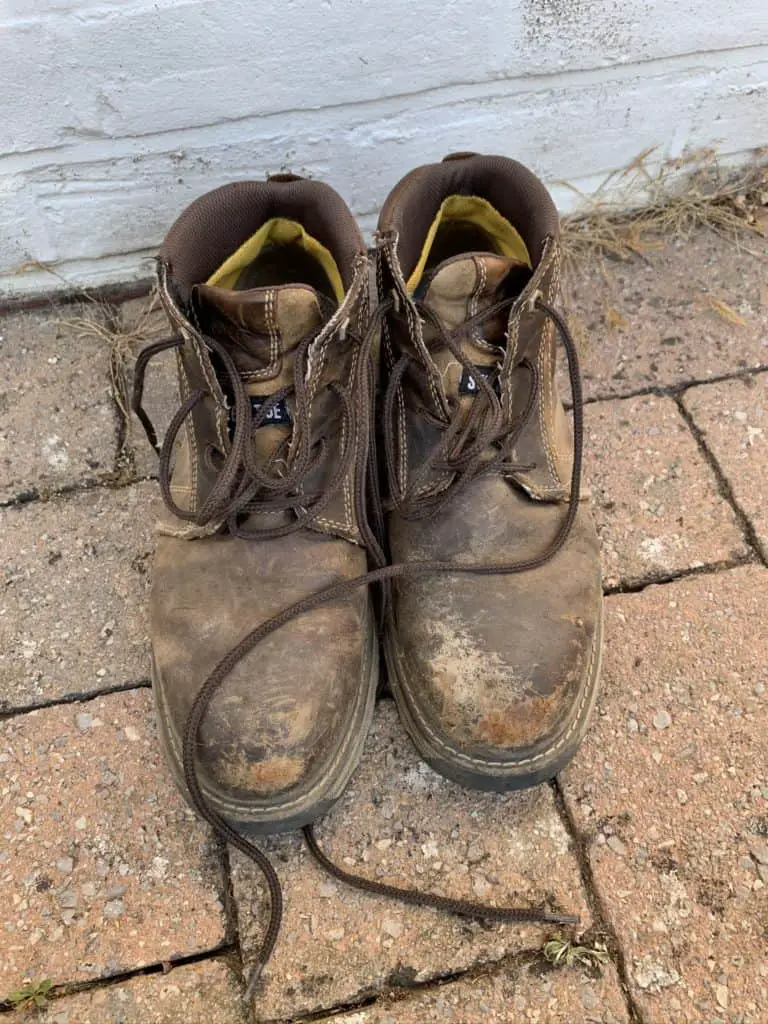
12 – Boots
Very important. You can probably borrow a hard hat and high vis form the site, but do you want to wear someone else’s boots? Erm no.
Well I don’t.
Mine are very comfortable and are my footwear of choice for gardening and cutting the grass too!
13 – Hard hat
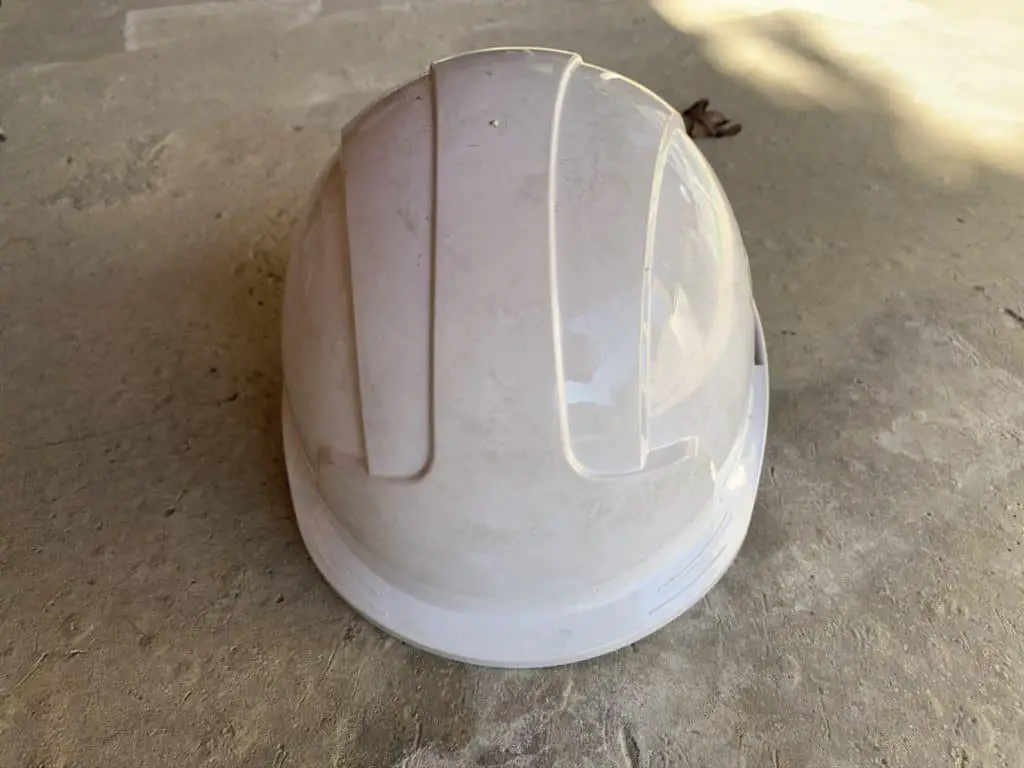
As with the boots, I do not really want to wear someone else’s hard hat.
And another top tip for you – get one with a short peak. If you don’t you might find yourself catching the tip of the peak on your camera and not being able to look through the viewfinder wearing the hat which could be a real problem.
Further reading
Check out my full list of gear on my gear page.
And
Check out this page on my website where I link to some of my other posts on construction photography which I hope you find helpful.
And that is that. Thanks for reading this post which I hope you found interseting and helpeful.
